
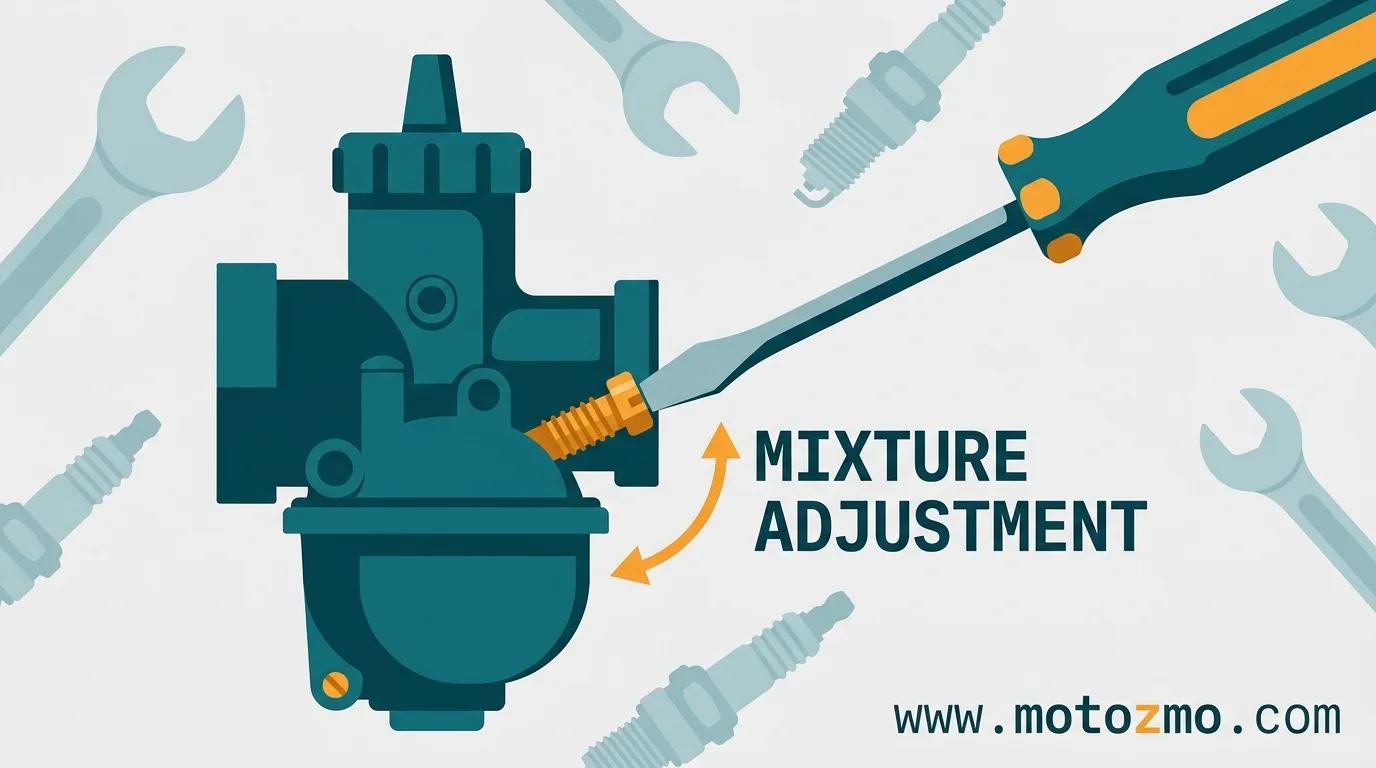
To adjust your carburetor’s idle mixture, warm the engine fully, then turn the mixture screw in until the idle RPM drops, out until it drops again on the other side, and set it at the peak point between those two, plus about 1/8 turn richer for a safety margin.
The whole process takes 15 to 30 minutes with a screwdriver and a little patience. The part most guides skip: this screw only controls idle and light throttle, roughly the first quarter of the throttle’s travel. If your bike bogs in the mid-range or falls flat at wide-open throttle, no amount of screw-turning fixes that, you’re looking at a jetting change instead. Get the diagnosis right first and the adjustment itself is straightforward.
Here’s how to tell which problem you actually have, and how to do the adjustment correctly once you know.
Key Takeaways
- Warm up first: Always tune the carburetor on a fully warmed-up engine; adjusting it cold guarantees an incorrect mixture later.
- Identify your screw: Air screws (near the air filter) lean the mixture when turned out; fuel screws (near the engine) richen the mixture when turned out.
- Hunt for the peak: Turn the screw in 1/8-turn increments to find the highest, steadiest idle RPM between the “lean drop” and “rich drop” points.
- Add a safety margin: Turn the screw an additional 1/8 turn toward the rich side from the peak RPM to prevent lean conditions during hard acceleration.
- Confirm with a plug chop: A post-ride spark plug check is the ultimate confirmation, look for a light tan or gray tip.
- Know the limits: The mixture screw only affects idle and the first 1/4 of throttle travel; mid-range or wide-open issues require jetting changes instead.
Is It Actually the Mixture Screw? A 2-Minute Check First
Rich and lean symptoms look different enough that you can usually tell which side you’re on before touching anything.
| Rich mixture (too much fuel) | Lean mixture (too much air) | |
|---|---|---|
| Exhaust smoke | Black | None, or a faint blue tint |
| Spark plug color | Black and sooty | White or gray, chalky |
| Engine temperature | Normal | Runs hotter than usual |
| Idle behavior | Rough, may flood | Rough, may stall |
| Throttle response | Sluggish, heavy | Hesitant, jerky, or backfires on deceleration |
| Fuel economy | Worse than normal | Slightly better, until it isn’t |
One catch before you go further: these symptoms tell you the mixture is off, not necessarily that the idle screw is the fix. The mixture screw only touches idle and roughly the first quarter of throttle opening.
If your bike idles and pulls cleanly off the line but stumbles or goes flat once you’re well into the throttle, skip down to “when the screw alone won’t fix it” instead, since no amount of screw adjustment reaches that part of the circuit.
Find Your Screw Type First: Air Screw or Fuel Screw
Carburetors use one of two screw designs, and knowing which one you have determines which way to turn it.
A fuel screw is the more common design on four-stroke bikes. It sits on the engine side of the carb body and meters fuel into the idle circuit: turn it out (counterclockwise) for a richer mixture, in (clockwise) for leaner.
An air screw is common on two-strokes and some older four-strokes. It sits on the air-filter side and works the opposite way: turn it in (clockwise) for richer, out (counterclockwise) for leaner, since closing it off restricts the extra air that would otherwise lean out the idle circuit.

The quickest way to tell them apart: trace the path from your air filter to the engine. A screw before the throttle slide is an air screw; one after it is a fuel screw. If you’re still not sure, your carburetor’s service manual or a parts diagram for your specific model will show which type you have.
Before You Start
- A small flat-head screwdriver that actually fits the screw slot. A too-small tip rounds it out fast.
- A tachometer, if your bike’s gauge cluster doesn’t already show RPM.
- Your service manual, for the factory baseline turns-out spec. Most fall between 1.5 and 2.5 turns out from lightly seated; if you can’t find yours, start at 2 and adjust from there.
- A stand that holds the bike upright and stable while it idles.
If your carburetor has any varnish or gunk in it from sitting over winter, clean it out first. Adjusting the mixture on a dirty carb just means re-adjusting it again once the passages clear.
If there’s a plastic cap over the screw, that’s there because idle mixture is technically an emissions-related adjustment, and the Clean Air Act prohibits tampering with emission control devices in a way that increases pollution.
In practice that rule is aimed at people gutting catalytic converters and installing defeat devices, not someone resetting their idle mixture to factory spec with a screwdriver, which manufacturers document as routine service in their own manuals. The reasonable line: adjust within the documented range for normal driveability, and this isn’t the place to chase extra power by running dramatically richer than spec.
The Peak-RPM Method: Step by Step

1. Warm the engine fully. A cold engine runs rich on purpose, through the choke or an automatic enrichment circuit, so adjusting cold guarantees a wrong setting once it warms up. Idle it for 5 to 10 minutes, or better, ride it around the block first. This is the single most common reason a “correct” adjustment feels wrong the next morning: it was tuned cold.
2. Find and access the screw. It’s a small brass screw on the carburetor body, positioned as described above. Gently pry off any anti-tamper cap with a pick.
3. Set your baseline. Turn the screw clockwise gently until it just stops, don’t force it; overtightening damages the tapered tip and seat, and a damaged seat means a new carburetor, not a five-dollar part. From there, turn it back out to your factory spec, usually 1.5 to 2 turns.
4. Hunt for the peak. With the engine idling, turn the screw in 1/8-turn steps, waiting about 10 seconds after each one for the RPM to settle. At some point the idle will start to drop, that’s the lean-side limit. Now reverse direction and go the other way in the same 1/8-turn steps until RPM drops again on the rich side. The highest, steadiest RPM sits somewhere between those two drop points.
5. Add your safety margin. Once you’ve found the peak, turn 1/8 turn further toward richer (counterclockwise on a fuel screw, clockwise on an air screw). That small cushion protects against a lean condition under hot weather or hard acceleration, which is a worse failure mode than running slightly rich.
Don’t use this screw to compensate for a problem that isn’t actually a mixture problem. A vacuum leak at an intake boot or a poorly synced multi-carb setup can produce the same rough idle as a bad mixture, and cranking the screw to mask it usually just moves the problem to a different throttle range instead of fixing it.
Set the Idle Speed, Then Confirm with the Spark Plug
Dialing in the mixture usually shifts the idle RPM, so correct that next: the idle speed screw sits near the throttle linkage, separate from the mixture screw, and most bikes target somewhere around 1,000 to 1,500 RPM (check your manual for the exact number).
Ride for 10 to 15 minutes with a mix of stops, acceleration, and steady cruising, then come back and check that the idle is still stable. For a final confirmation, shut the engine off immediately after the ride and pull a spark plug. A light tan or gray color means you nailed it. Black and sooty means still too rich; white and dry means too lean.
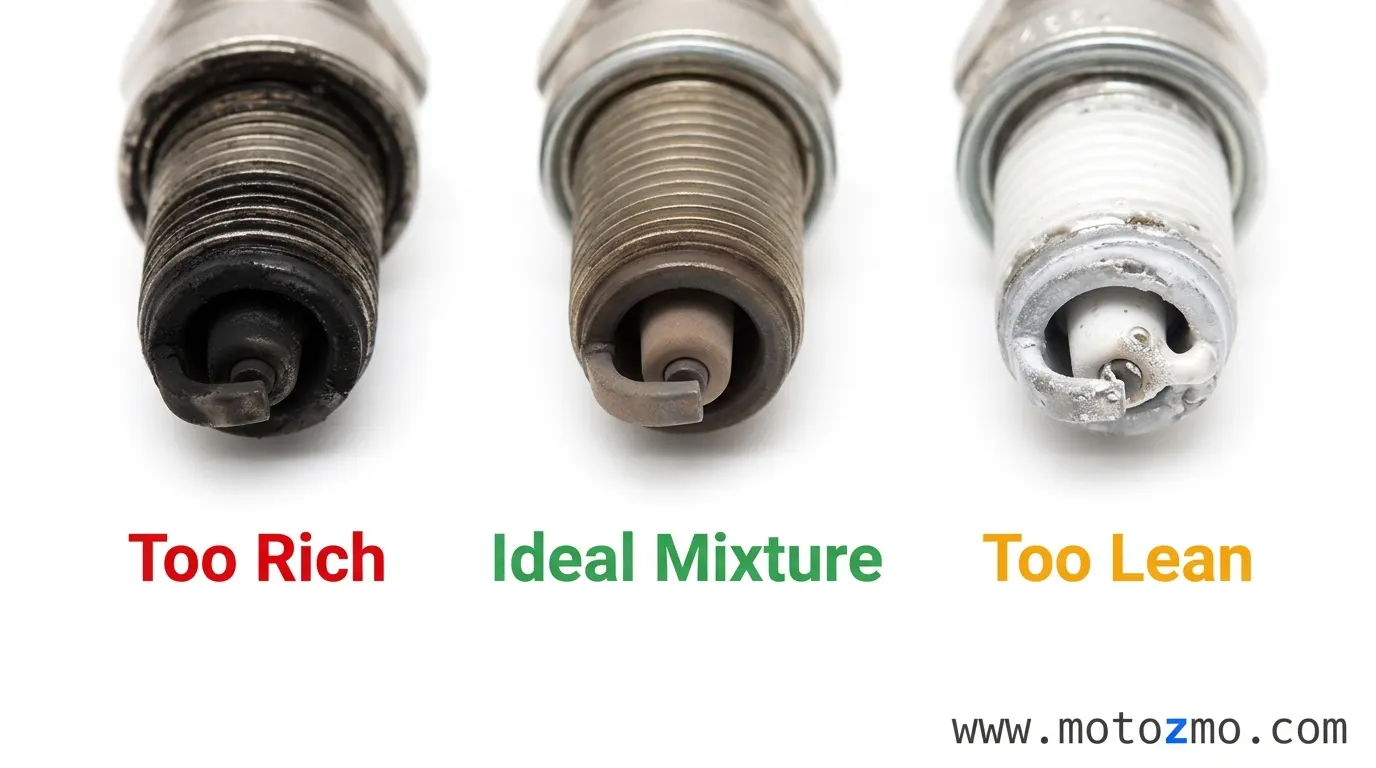
This reading only works reliably on carbureted engines, which is one of the few genuine advantages a carb has left over fuel injection for diagnosis.
Adjusting for Altitude and Temperature
Air gets thinner as you climb, which richens a carburetor’s mixture without you changing anything. Based on standard atmosphere data, air density drops measurably with elevation:
| Elevation | Air density vs sea level | Effect | Typical fix |
|---|---|---|---|
| Sea level | 100% | Baseline | None |
| 3,000 ft | ~91% | Slightly rich | 1/8 turn leaner |
| 5,000 ft | ~86% | Noticeably rich | Lean the screw, or consider re-jetting |
| 8,000 ft | ~79% | Significantly rich | Drop the main jet 1–2 sizes |
Mixture-screw adjustment alone can usually absorb the first few thousand feet of elevation change. Past about 5,000 feet, most riders find the screw runs out of usable range and it’s time to drop the main jet a size or two and raise the needle clip one position to lean the mid-range along with it.
Temperature works on a smaller scale the same way: cold, dense air leans things out slightly, hot air richens them, and humidity has a minor leaning effect since water vapor displaces a bit of oxygen.
When the Screw Alone Won’t Fix It
The mixture screw only governs idle and roughly 0 to 1/4 throttle. Problems outside that range point somewhere else:
- Hesitation at mid-throttle usually means the needle position or needle jet, not the idle screw. Raising the needle clip leans the mid-range; lowering it enriches.
- Flat power at wide-open throttle points to the main jet. Check its size against your elevation and inspect it for debris before assuming you need a bigger one.
- Fuel dripping from the carb isn’t a mixture problem at all. That’s a stuck float or bad float needle, and it needs fixing before any mixture reading will be accurate, since excess fuel in the bowl throws off everything downstream.
- Rough idle that won’t settle even at the right turns-out setting is often a vacuum leak. Spray a little carb cleaner around the intake boots while the engine idles; if the RPM changes, you’ve found your leak.
- Multi-cylinder bikes with individual carbs need the carbs synced to each other, not just individually adjusted, or you’ll get vibration and uneven power no matter how well each one is dialed in on its own. That’s worth checking as part of routine carburetor maintenance every 6,000 to 12,000 miles, or any time you’ve cleaned or rebuilt the carbs.
If the Problem Still Won’t Go Away
If you’ve adjusted correctly, confirmed with a plug read, and the bike still runs poorly, the issue has likely moved past what a screwdriver can fix: a worn throttle shaft, a cracked carb body, or something mechanical underneath like valve clearances or compression.
If your engine is cutting out unpredictably rather than just running rough, that’s usually a sign to stop chasing the mixture screw and get a mechanic to look at it properly.