Motorcycle carburetor cleaning is necessary but removing it from your bike and taking it apart piece by piece can be daunting. Not to mention, the risk of losing one of those tiny little parts is enough to make anyone break out in a cold sweat.
How to clean a motorcycle carburetor without removing it? Well, you can do the cleaning without taking the hassle of dismantling it. That’s right; you can keep that bad boy attached to your bike while still getting it squeaky clean.
In this post, we’ll discuss all steps to get your carburetor back in tip-top shape. So, put on your gloves and let’s get to cleaning!
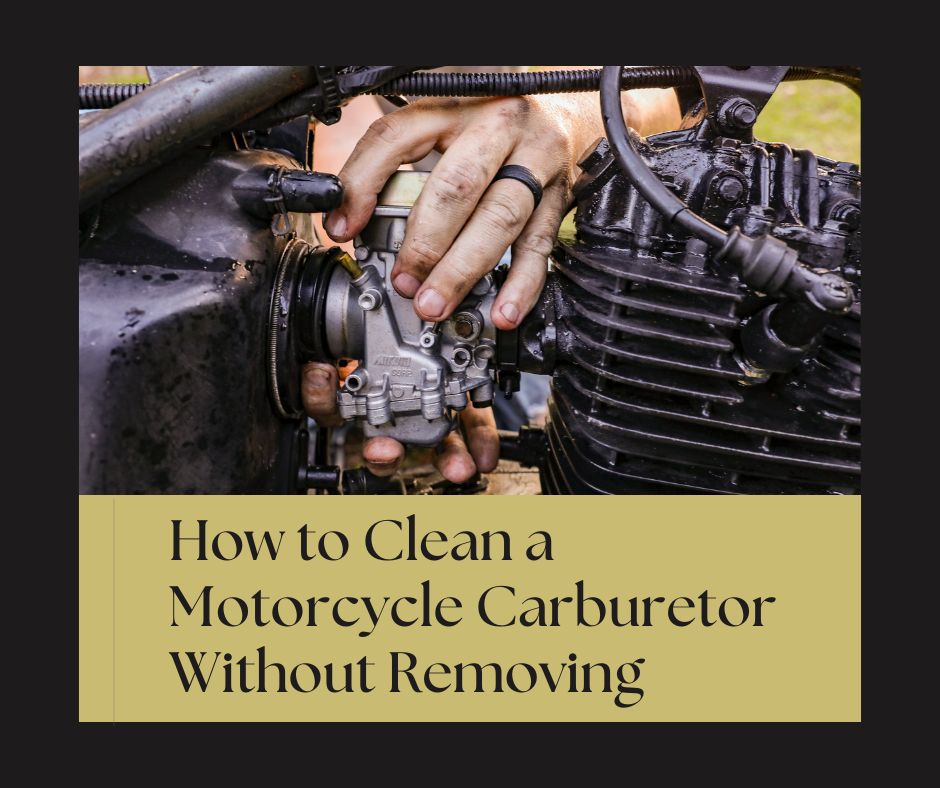
How to Clean a Motorcycle Carburetor Without Removing It
Let’s start cleaning that motorcycle carburetor without taking it apart.
Things You’ll Need
Here’s a list of tools and accessories you need to clean the carburetor without disassembling:
- Carburetor cleaner spray
- Sea Foam cleaner
- Air compressor with nozzle attachment
- Cleaning brush or toothbrush
- Compressed air can or device
- A drip pan
- Safety glasses
- Latex gloves
- Screwdriver (to detach air filter hose pipe)
- User’s manual (to locate air inlets)
- Clean rags or towels
Note: Not all these tools and accessories may be necessary for every cleaning method. Check the specific cleaning method and its requirements before starting the cleaning process.
The Guide to Cleaning a Motorcycle Carburetor
A dirty carburetor can reduce fuel efficiency, cause sluggish performance, and even lead to engine failure. But carb cleaning is not rocket science. We’ll walk you through the steps to clean the motorcycle carburetor like a pro without removing it!
Step 1: Wash the bike
A thorough wash is necessary to ensure you can access every inch of the carburetor without dirt getting in the way. So, grab a bucket of soapy water and get to work.
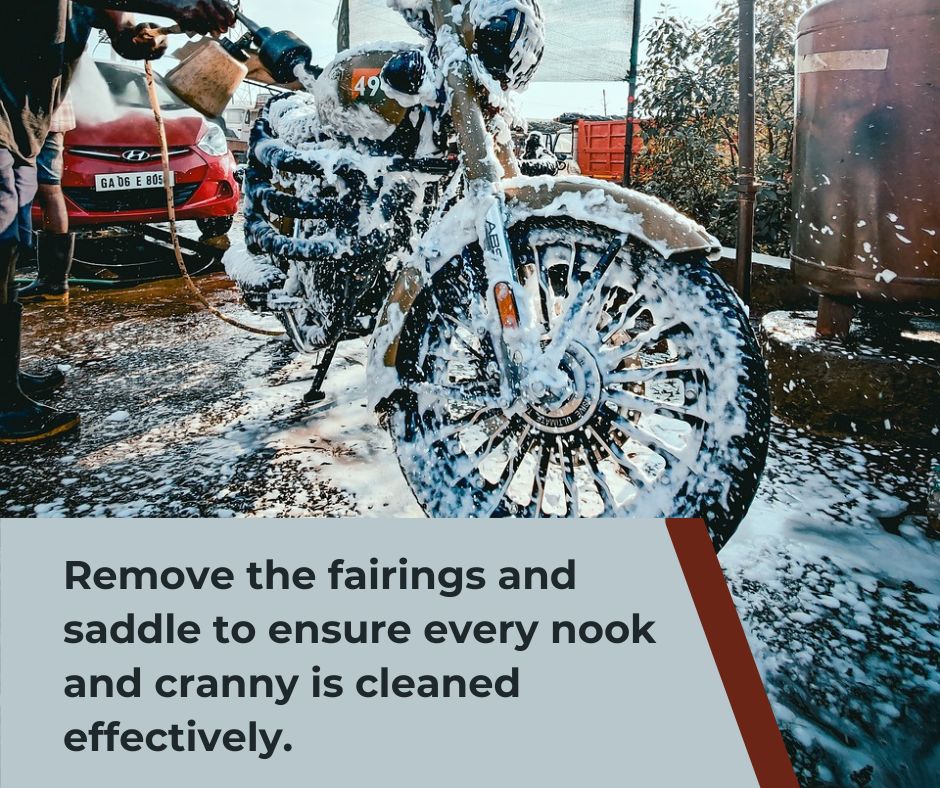
Start by giving your motorcycle a good scrub-down, paying extra attention to the engine and the carburetor. The more dirt and grime you remove, the easier it will be to tackle the carburetor later.
And if you want to go the extra mile, consider removing the fairings and saddle to ensure every nook and cranny is cleaned effectively.
Step 2: Close the fuel tap or petcock
For those of you with old-school bikes, you’re probably already familiar with the manual tap that controls the fueling of your motorcycle. It’s typically located below the fuel tank and above the engine, and it’s essential to make sure it’s turned off before getting started on the carburetor.
But for modern bikers out there, don’t worry; your automatic taps have got you covered. They’ll turn off the fueling once the ignition is switched off, so you can skip this step and move on to the next.
But why is it important to turn off the fuel tap? It prevents the fuel flow from the tank to the carburetor, making it easier and safer to work on. Plus, it prevents fuel from spilling out and causing a potential hazard.
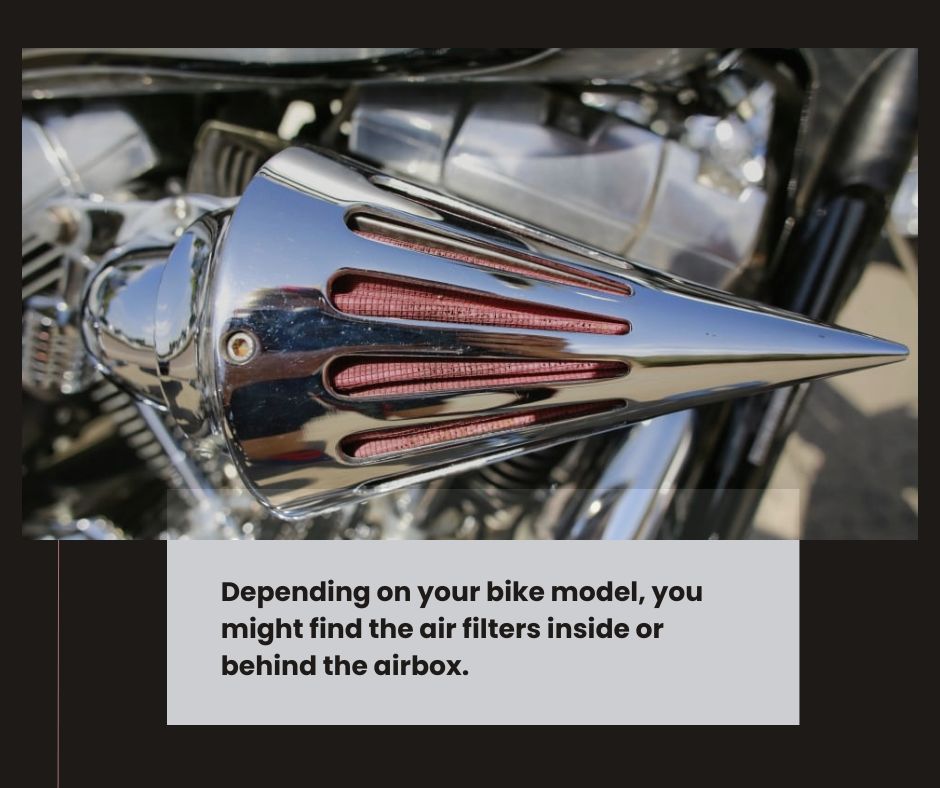
Step 3: Remove the air filters
These little guys sit inside the carburetor and do their best to keep the dirt out, but they can get pretty clogged up over time.
Depending on your bike model, you might find the air filters inside or behind the airbox. Regardless of where they are, it’s time to clean them well. You can use compressed air or filter cleaner to get them squeaky clean.
While at it, don’t forget to clean all the hoses and connections. Remove any dirt, sand, mud, or asphalt residue. You want your bike running as smoothly as possible, right?
You May Like: K&N Motorcycle Air Filter Review: Better Than Stock Filters?
Step 4: Drain the carburetor
It’s time to get dirty and drain that carburetor like a pro. Don’t worry; it’s not as complicated as it sounds. You just need to locate the mixture screw (or drain screw) on the bottom side of the carburetor.
You’ll see a drain pipe underneath it, so go ahead and remove the other end of the pipe.
Next, you’ll want to loosen the mixture screw, but don’t forget to count how many rotations it takes to unscrew. This little guy controls the mixture of fuel and air, so keeping track of how much you’re adjusting it is essential.
Once you loosen the screw to the max, the carburetor’s fuel will start dripping. Collect the oil in a drip pan, so the ground doesn’t get messy.
Step 5: Clean the membrane
Let’s discuss cleaning that thin, delicate diaphragm under your motorcycle’s carburetor. A clean membrane helps the carb to function smoothly.
The membrane is responsible for keeping the air-fuel mixture in check, but it can get clogged with dirt and grime over time. Fortunately, you don’t have to remove the carburetor to clean it. All you need is a cleaning spray and a steady hand.
You May Like: Motorcycle Carburetor vs Fuel Injection: Which One Reigns Supreme?
Step 6: Cleaning the carburetor
Let’s get your carburetor clean and sparkling like new! Start by grabbing your favorite carb spray or pick any carb cleaners from our recommendations.
Method 1: Carb cleaner spray
Spray the cleaner generously on the exterior of the carburetor to get rid of any pollutants that may be sticking to it.
Next, detach the air filter hose pipe (a ring and screw usually hold it) and spray the carb cleaner inside the air inlets like the slow speed circuit, primary circuit, and float bowl vent.
Don’t forget to check your user’s manual for the exact location of your carburetor’s air inlets. Give a good spray in the passage where the air filter hose pipe connects.
Let the carb cleaner work magic by going through all the passages and jets to free up any gunk (dirt and carbon deposits) that may have settled there. For any leftover deposits or grease, grab a can of compressed air and insert the nozzle into the carburetor air inlets to blow them away.
Your carburetor will be as clean as a whistle.
You May Like: Say Goodbye to Carburetor Gunk with Carb Cleaners for Motorcycles
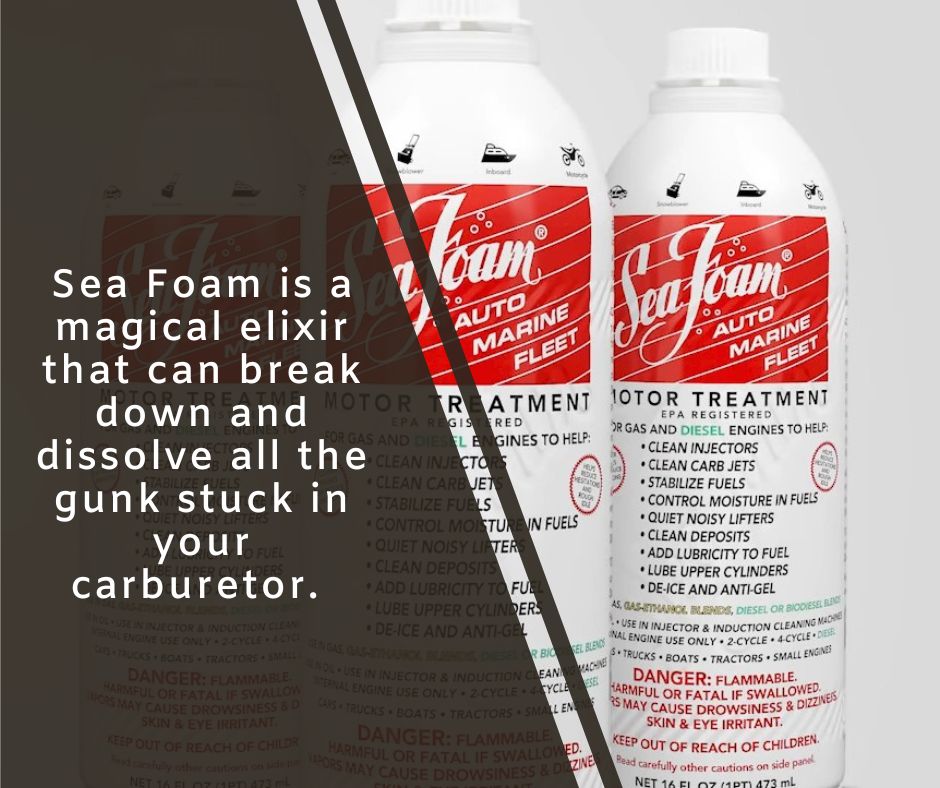
Method 2: Sea Foam
Sea Foam is a magical elixir that can break down and dissolve all the gunk stuck in your carburetor. And the best part? You don’t even have to take the carburetor apart!
But before you get started, it’s essential to read the instructions carefully. You’ll need to dilute the concentrated cleaner with water. The amount of water depends on the specific product you’re using. And some Sea Foam products require mixing with either engine oil or fuel.
And remember, this cleaning step is only recommended if you have oil deposits on your membrane or valves. Otherwise, you might end up doing more harm than good.
Method 3: Air compressor
With this method, you can blast away any dirt or grime accumulated in the throttle shafts, valves, and membrane without breaking a sweat.
You must remove the air filter for this cleaning process to work. Otherwise, the compressor can’t blow out the maximum airflow.
No need to get your hands dirty taking apart your carburetor; just let the power of compressed air do the work for you.
Step 7: Tighten the Mixture Screw
Alright, it’s time to play with that screw again, but this time we need to screw it back in. Remember the number of rotations it took to unscrew? Great! Now, do the same number of spins in reverse and tighten it.
Don’t worry if you forgot to count; we’ve all been there. Start turning the screw while the engine runs, and listen closely to the exhaust. Based on the sound, you’ll be able to tell if the screw needs to be tightened or loosened.
Finding the sweet spot is important because if the engine’s RPM is too high, your mileage will suffer. And nobody wants that. On the other hand, if the RPM is too low, you’ll be chugging along like a snail.
So, take your time, and adjust the screw until you find the perfect balance.
Would watch a video instead? Check this:
Conclusion
Cleaning your motorcycle carburetor without disassembling it is a simple and effective way to maintain the engine performance. With the different methods discussed in this blog post, such as using carburetor cleaner spray, sea foam, and compressed air, you can quickly get rid of the dirt, gunk, and carbon deposits that can affect your motorcycle’s fuel efficiency and power.
Always follow the instructions carefully, take necessary precautions, and consult a professional if needed. By regularly cleaning the carb, you can keep your ride running smoothly.


