🎯 Key Takeaways
- Seat removal methods vary by bike model.
- Most seats require only basic tools to remove.
- Check for hidden latches or bolts if the seat is stuck.
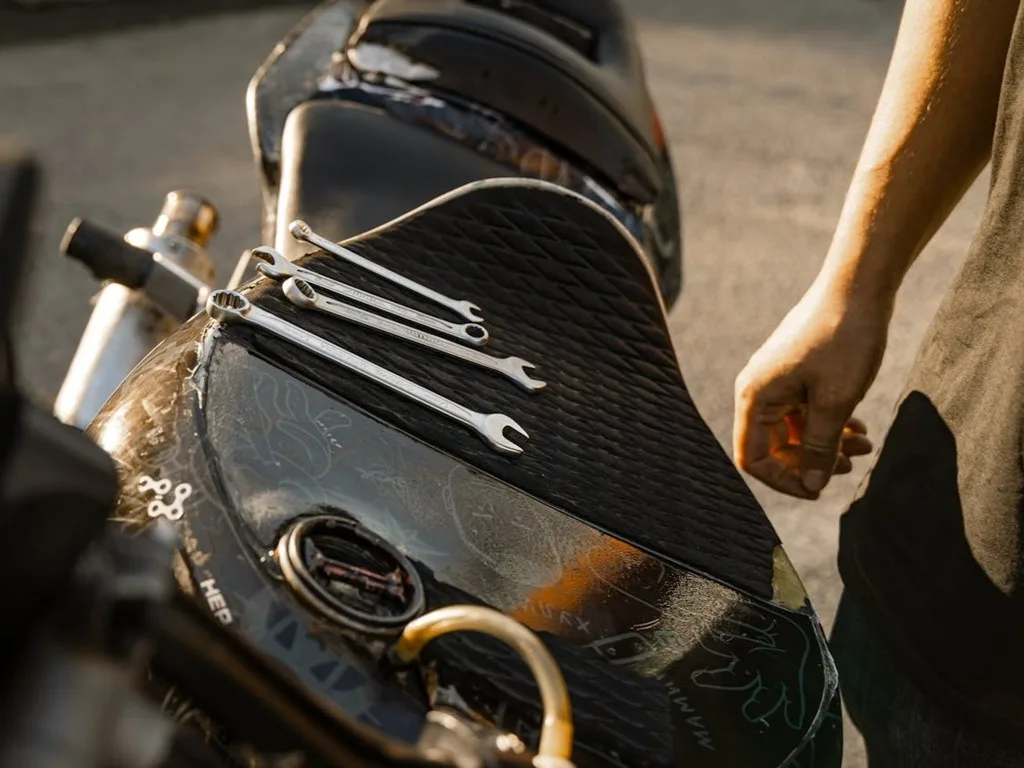
When I first needed to replace the battery on my Honda Shadow, I figured removing the seat would be the easy part.
Spoiler alert: it wasn’t.
I spent a solid 15 minutes fumbling with bolts, checking for hidden latches, and second-guessing everything, only to realize I needed to slide the seat forward, not pull it up.
So I put this guide together to save you the guesswork. I’ll walk you through the tools you’ll need, how to remove most types of motorcycle seats, model-specific tips, and what to do if your seat is stuck and won’t budge.
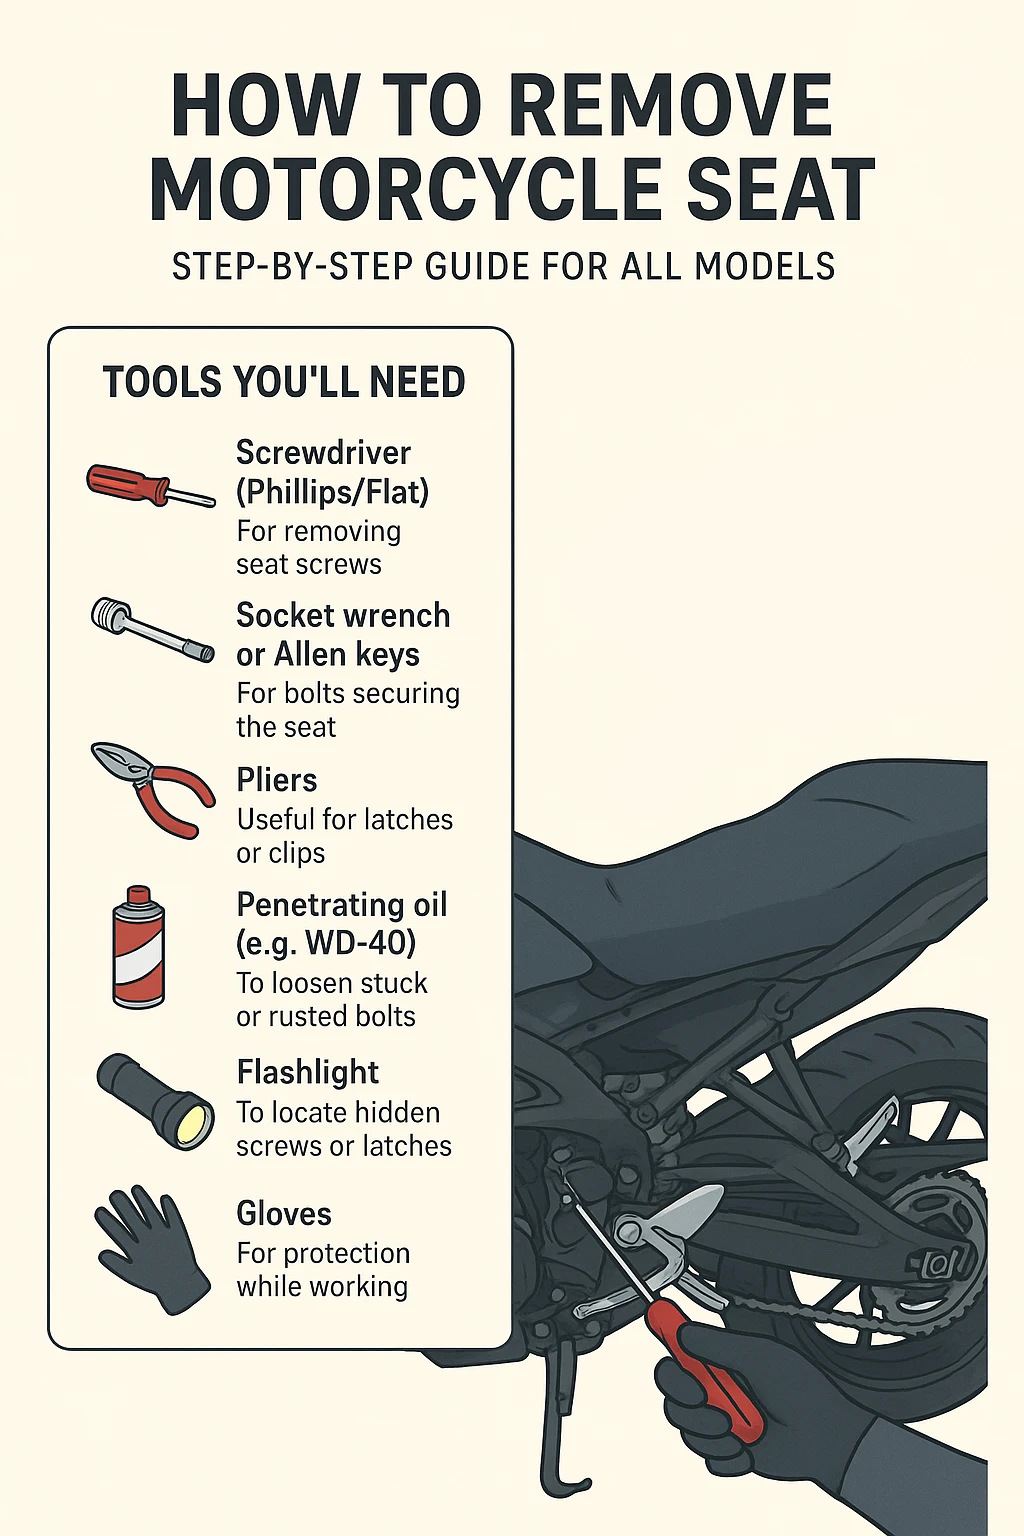
Tools You’ll Need
Before starting, gather the following tools (depending on your bike’s seat mechanism):
- Screwdriver (Phillips/Flat): For removing seat screws
- Socket wrench or Allen keys: For bolts securing the seat
- Pliers: Useful for latches or clips
- Penetrating oil (e.g., WD‑40): To loosen stuck or rusted bolts
- Flashlight: To locate hidden screws or latches
- Gloves: For protection while working
How to Remove Motorcycle Seat (General Method)
Step 1: Locate the Seat Release Mechanism
There are three common seat mechanisms:
- Key-operated latch
- Bolt/screw fasteners
- Quick-release clips or tabs
Step 2: If It Has a Key-Operated Latch
This is common on modern street bikes.
- Insert the key into the side or rear seat lock.
- Turn counterclockwise (usually) to release the latch.
- While turning, press down or lift slightly on the seat.
- Once released, pull the seat backward to disengage the front tab.
Look for a helmet lock integrated with the seat release on some models.
Step 3: If It’s Secured with Bolts or Screws
- Locate bolts—typically at the rear of the seat or under side panels.
- Use the appropriate tool (socket or Allen wrench) to unscrew them.
- Slide the seat backward or lift upward depending on the mounting style.
Step 4: Remove the Seat
- Once unfastened, lift the rear first, then pull back.
- If there’s a front tongue/tab, slide it out gently.
Model-Specific Instructions
| Motorcycle Brand | Removal Method |
|---|---|
| Yamaha | Remove rear screws, push seat forward, then lift off. |
| Honda | Remove two bolts under side covers, slide seat backward. |
| Harley-Davidson Sportster | Remove single rear screw, lift rear, pull forward to disengage tab. |
| Kawasaki | Unscrew side/rear bolts, may require removing side panels. |
| Indian Motorcycles | Remove side covers, then two Allen bolts from bracket, lift seat. |
Always refer to your model’s manual for torque specs and bracket positions.
Troubleshooting: If the Seat Won’t Come Off
If your motorcycle seat is stuck, here are common issues and how to fix them:
| Problem | Solution |
|---|---|
| Key turns but seat doesn’t release | Apply downward pressure while turning the key. Try lubricating the latch. |
| Seat feels stuck or won’t slide | Check for hidden screws or tabs. Use a flashlight to inspect. |
| Rusty or stripped bolts | Spray penetrating oil (e.g., WD‑40), wait 10–15 minutes, then try again. |
| Seat has hidden side clips | Gently pry side fairings or covers to reveal fasteners. Be careful not to crack plastic. |
Pro Tip: Try searching your bike model + “seat removal” on YouTube for visual reference.
Reinstallation & Maintenance Tips
Reinstalling the Seat:
- Align the front tongue/tab into the receiving slot.
- Slide the seat forward until it clicks or aligns properly.
- Bolt it down using proper torque (refer to your manual).
- Test the seat’s security by pressing down and wiggling.
Seat Maintenance:
- Clean the mounting points to remove dirt and debris.
- Lubricate latches and bolts periodically to prevent sticking.
- Check for damage to clips or locking tabs before reinstallation.
FAQs
Are seat removal steps the same for all motorcycles?
Not exactly. Most seats are attached with either a key latch, bolts, or clips. While the general removal process, including release, slide, and lift, remains similar, checking your specific model’s owner’s manual ensures you don’t miss hidden fasteners.
What should I do if the seat won’t come off?
First, apply penetrating oil like WD‑40 to stuck parts, then press down on the seat while turning the latch, this often releases tension. Also inspect for hidden screws or panels obstructing removal.
Will removing the seat void my warranty?
Removing the seat for maintenance typically does not void your warranty. Just avoid modifying or damaging components. If unsure, refer to your warranty documentation or contact your dealer.
Do I need to disconnect the battery before seat removal?
Yes, especially if your seat has wiring or electronic features. Disconnecting the battery prevents accidental short circuits and protects electrical components while working underneath the seat.

