
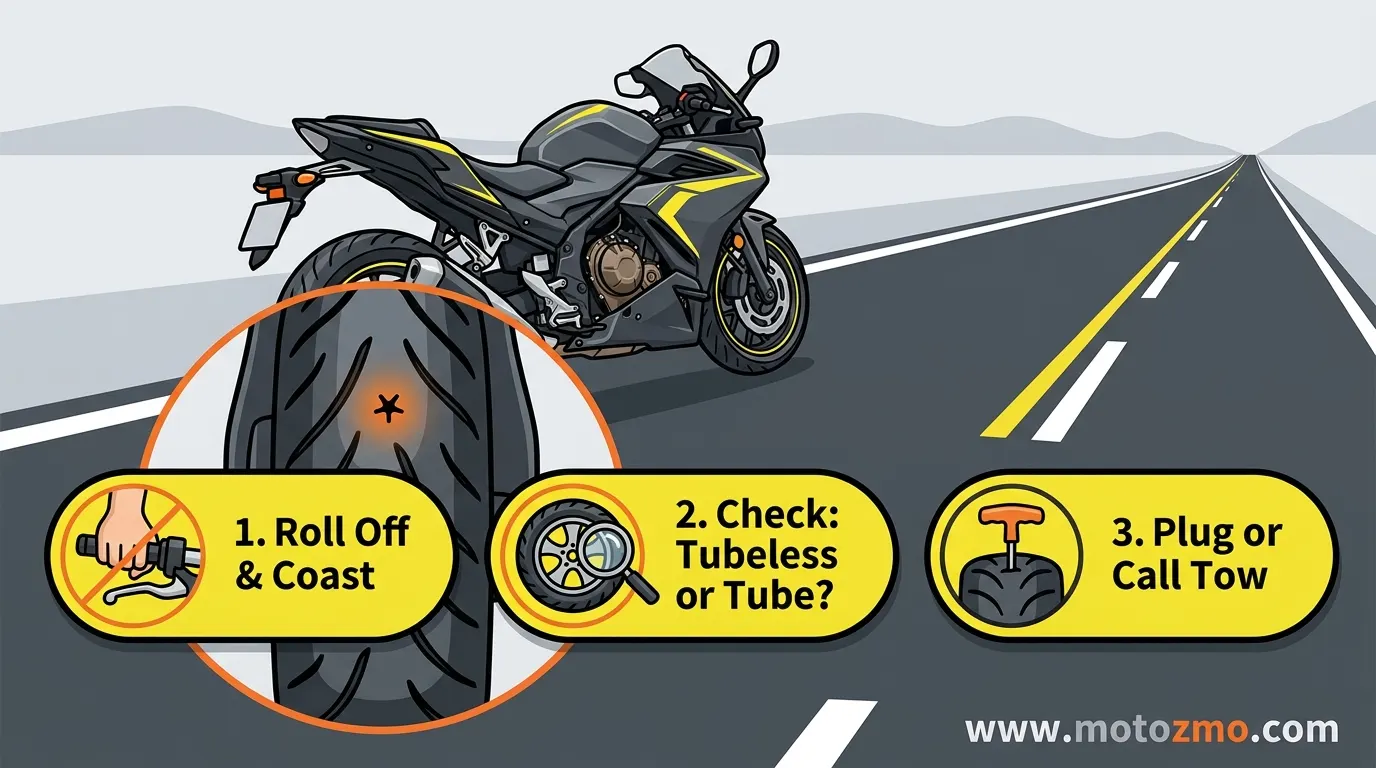
Roll off the throttle, hold the bars steady, and coast to a stop. Don’t grab the brakes, and don’t fight the wheel. That’s the only move that matters in the first few seconds after a motorcycle tire goes flat, no matter what bike you’re on or which tire it is.
Once you’re stopped and off the road, the situation splits into two very different jobs. A tubeless tire can often be plugged right where you’re standing. A tube-type tire, common on spoked wheels, usually needs the wheel off, which most riders can’t manage on a shoulder.
Below is how to tell which one you’ve got, how to plug it if that’s realistic, what to skip entirely, and what to carry so a flat turns into a ten-minute stop instead of a tow.
The First Ten Seconds: Staying Upright
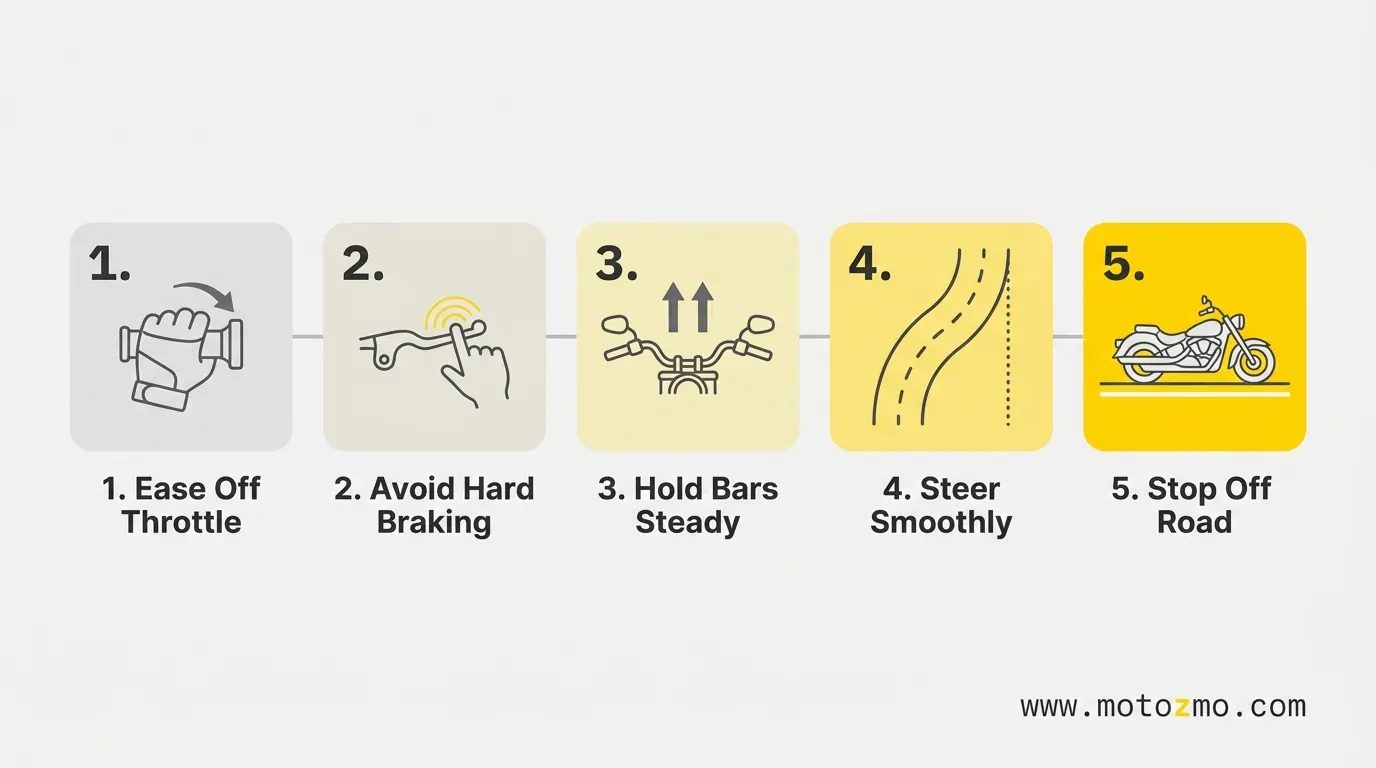
A flat rarely announces itself clearly. Sometimes it’s a wobble in the bars. Sometimes it’s a dragging, humming feel through the pegs, or the rear end suddenly tracking soft through a corner. Whatever tips you off, the response is the same:
- Roll off the throttle and let the bike slow on its own.
- Skip the hard brake. Grabbing a lever on a flat can snap the wheel out from under you.
- If you know which tire is flat, brake gently on the good one. If you’re not sure, use both, gently.
- Steer smoothly. No sudden corrections.
- Get fully off the road before you touch anything. Find a flat, visible spot first.
Ten seconds of calm riding here matters more than anything else in this guide.
Why Riding It Out Costs You More
A flat doesn’t get better with distance. Every rotation on a flat folds the sidewall against the rim edge, and it doesn’t take long. On a cast wheel that can bend or crack the rim. On a spoked wheel it can loosen or snap spoke nipples. Either way, a puncture that would’ve cost you a five-dollar plug turns into a wheel repair or a full replacement.
If you’re already unsure whether a tire’s damage means a patch or a new tire, our guide to knowing when a tire needs replacing walks through the signs to check once you’re safely off the road. Getting the bike stopped and parked is the only distance worth traveling on a flat.
What happens next depends on one fork in the road: whether your tire is tubeless or tube-type. It helps to already have a kit in your tail bag before you need one; our picks for roadside repair kits worth carrying cover what’s actually worth the space.
Tubeless or Tube-Type: How to Tell In Under a Minute
Check the sidewall first. Every motorcycle tire has “TL” (tubeless) or “TT” (tube type) stamped near the size numbers, usually within a couple inches of the load rating. That’s the most reliable answer, but two more clues confirm it fast if the sidewall text is scuffed or hard to read.
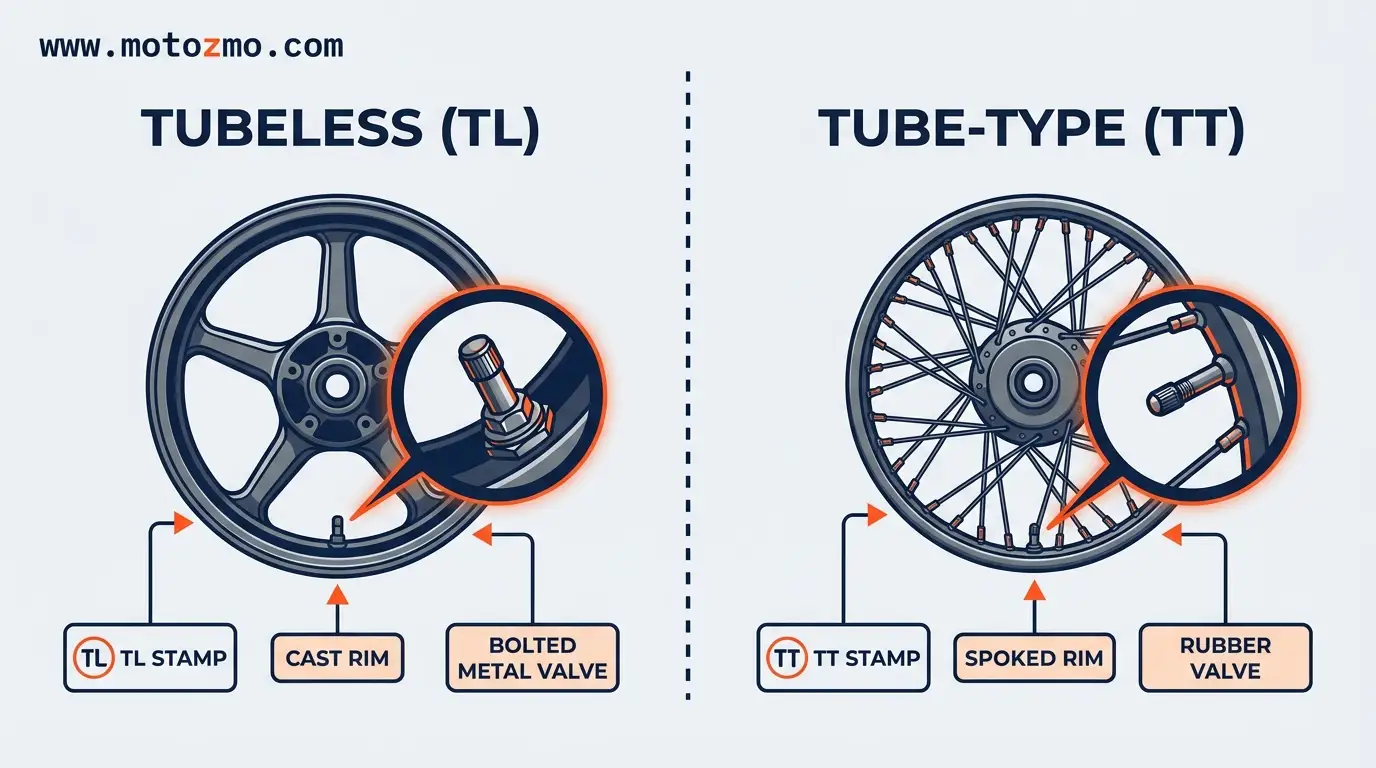
Look at the wheel. Cast alloy wheels, solid metal with no visible spokes, almost always run tubeless. Wire-spoked wheels usually need a tube, because the spoke nipples pierce the rim bed and break the airtight seal a tubeless tire depends on. Some newer spoked wheels seal well enough for tubeless anyway, but that’s the exception.
Check the valve stem. A tubeless valve is a rigid metal or reinforced-rubber stem bolted straight to the rim with a nut. A tube-type valve is a thin rubber stem held in place only by the tube’s own pressure. Michelin’s own guide to matching tubes and tires covers this in more detail, including how to size a replacement tube correctly if yours turns out to need one.
| Clue | Tubeless (TL) | Tube-type (TT) |
|---|---|---|
| Sidewall marking | “TL” near the size numbers | “TT” near the size numbers |
| Wheel | Cast alloy, no spokes | Wire-spoked, nipples visible inside the rim |
| Valve stem | Rigid, bolted to the rim | Thin rubber, held by tube pressure alone |
| Roadside fix | A plug kit usually works | The wheel typically has to come off |
One wrinkle worth knowing: a “TL” marking doesn’t guarantee there’s no tube inside. Plenty of spoked-wheel bikes run TL-rated tires fitted with tubes anyway. If your bike has spokes, treat it as tube-type until you’ve actually confirmed otherwise. Guessing wrong here just wastes time you don’t have on the shoulder.
If you land on tube-type and you haven’t practiced pulling a wheel and breaking a bead before, calling for a tow is the sensible answer, not a failed one.
How to Plug a Tubeless Tire Roadside
Run a hand along the tread first. That’s where most roadside-fixable punctures happen. A bulge, tear, or exposed cord on the sidewall means a plug won’t hold, no matter how tempting it is to try anyway.
If the hole is in the tread, here’s the process:
- Find the object that caused the puncture and mark the spot.
- Leave it in place for now. It’s plugging its own hole while you get the kit ready.
- Ream the hole to prep it for the plug.
- Push the plug in with the insertion tool, then pull the tool straight out.
- Reinflate and check for leaks, either with soapy water or by ear.
A plug gets you moving again, but it isn’t the strongest repair on offer. A plug alone seals the hole from the outside. A patch, or a combined plug-patch, gets installed from inside a dismounted tire and holds up far longer, since it’s bonded to a clean, prepped surface instead of jammed into a puncture at the roadside. Our plug kit vs patch kit comparison breaks down which one to reach for and when pulling the wheel is worth the extra step.
A decent kit has a reamer, a handful of sticky rubber plugs, an insertion tool, and rubber cement. Toss in a small pressure gauge too, so you’re not guessing at the number once air’s back in.
Getting Air Back In
CO2 cartridges are common in kits. They’re single-use and hold a fixed volume, which is sometimes just short of what you need to hit full pressure. A portable 12V inflator is repeatable instead. Plug it into the battery or a socket, watch the gauge, and stop exactly where the tire’s rated.
For a saddlebag, size and power source matter more than max PSI. Look for something under a pound that runs off a cigarette-lighter plug or alligator clips rather than its own battery pack, since that’s one less thing you have to remember to charge before a ride. Our roundup of the inflators worth carrying covers the ones actually compact enough to live under a seat.
Skip the Canned Sealant
Don’t reach for a canned tire sealant from the auto parts aisle. It’s built for car tires, and it doesn’t hold up the same way inside a motorcycle tire running higher pressure and flexing more under lean angle. It also gums up the inside of the tire, which makes a proper plug-patch harder to do later.
A real plug kit costs about the same and actually works.
This Is a Temporary Fix, Not a Permanent One
A roadside plug gets you to safety. It isn’t a repair a tire maker will stand behind long-term. Dunlop’s own service guidance caps a plugged tire at 50 mph for the first 24 hours, and says never to exceed 75 mph on it afterward, regardless of the tire’s original speed rating.
The same guidance limits repairable punctures to small, tread-area holes, generally no larger than a quarter inch, fixed from inside a dismounted tire by a shop. Anything bigger, anything closer to the sidewall, or a tire that’s already been ridden while flat needs a professional look before you trust it again.
Get it inspected as soon as you reasonably can. A repaired tire effectively loses its factory speed rating until a shop confirms otherwise.
Finding Someone to Do It Properly
Not every shop that fixes car tires will touch a motorcycle tire, and that’s worth checking before you show up. A dealership service department or a shop that specializes in motorcycles will dismount the wheel and install a proper internal patch, rather than just adding a second external plug on top of the first one.
If you’re calling around, ask directly whether they patch from the inside with the tire off the rim; that’s the version manufacturers actually back. A quick call before you ride over saves a wasted trip if the answer’s no.
What to Carry So This Doesn’t Turn into a Tow
Two things turn a flat from a phone call into a short stop: a compact repair kit and a way to reinflate the tire once it’s plugged. Keep both under the seat or in a saddlebag, and check them occasionally. A CO2 cartridge that’s already been used, or plugs that have dried out in the heat, won’t help you on the day you actually need them.
The Bottom Line
Stop safely first. That’s what keeps you upright. Then figure out what kind of tire you’re dealing with, repair it if that’s realistic, and treat any roadside fix as temporary until a shop looks at it properly. A plug kit and a portable inflator turn most of these situations into a quick stop instead of a tow. If you’d rather cut down how often this happens in the first place, our guide to preventing flat tires covers the maintenance habits that actually help.