Key Takeaways
- Clean and condition your motorcycle leather seat regularly to prevent cracking and fading.
- DIY restoration is doable with basic tools and care products.
- Use UV protectants and covers to extend your seat’s life.
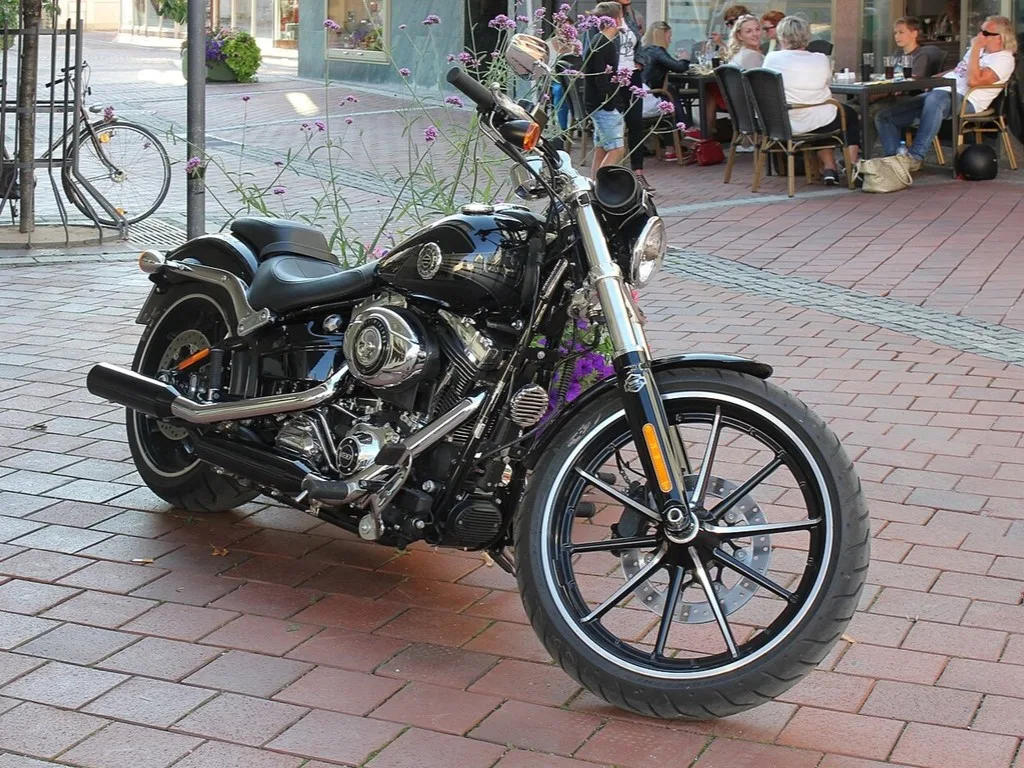
After 15,000 miles on my 2014 Harley-Davidson Softail, the signs of wear were hard to ignore, especially on the seat. The once-supple black leather had faded to a dull gray, cracks were forming along the seams, and the padding felt more like plywood than foam.
If you ride a Harley, a Triumph, or any cruiser with a leather seat, you’ve probably seen the same thing happen. Sun exposure, rain, sweat, and time all take a toll on leather, and without regular maintenance, even the toughest seat will start to crack or lose its shape.
But here’s the good news: restoring your leather motorcycle seat isn’t as complicated, or expensive, as you might think. Whether your seat just needs a deep clean or a full foam replacement, this guide will walk you through every step to bring it back to life.
Let’s get into the tools, techniques, and tips for your leather motorcycle seat repair and restoration to make it look (and feel) brand new again.
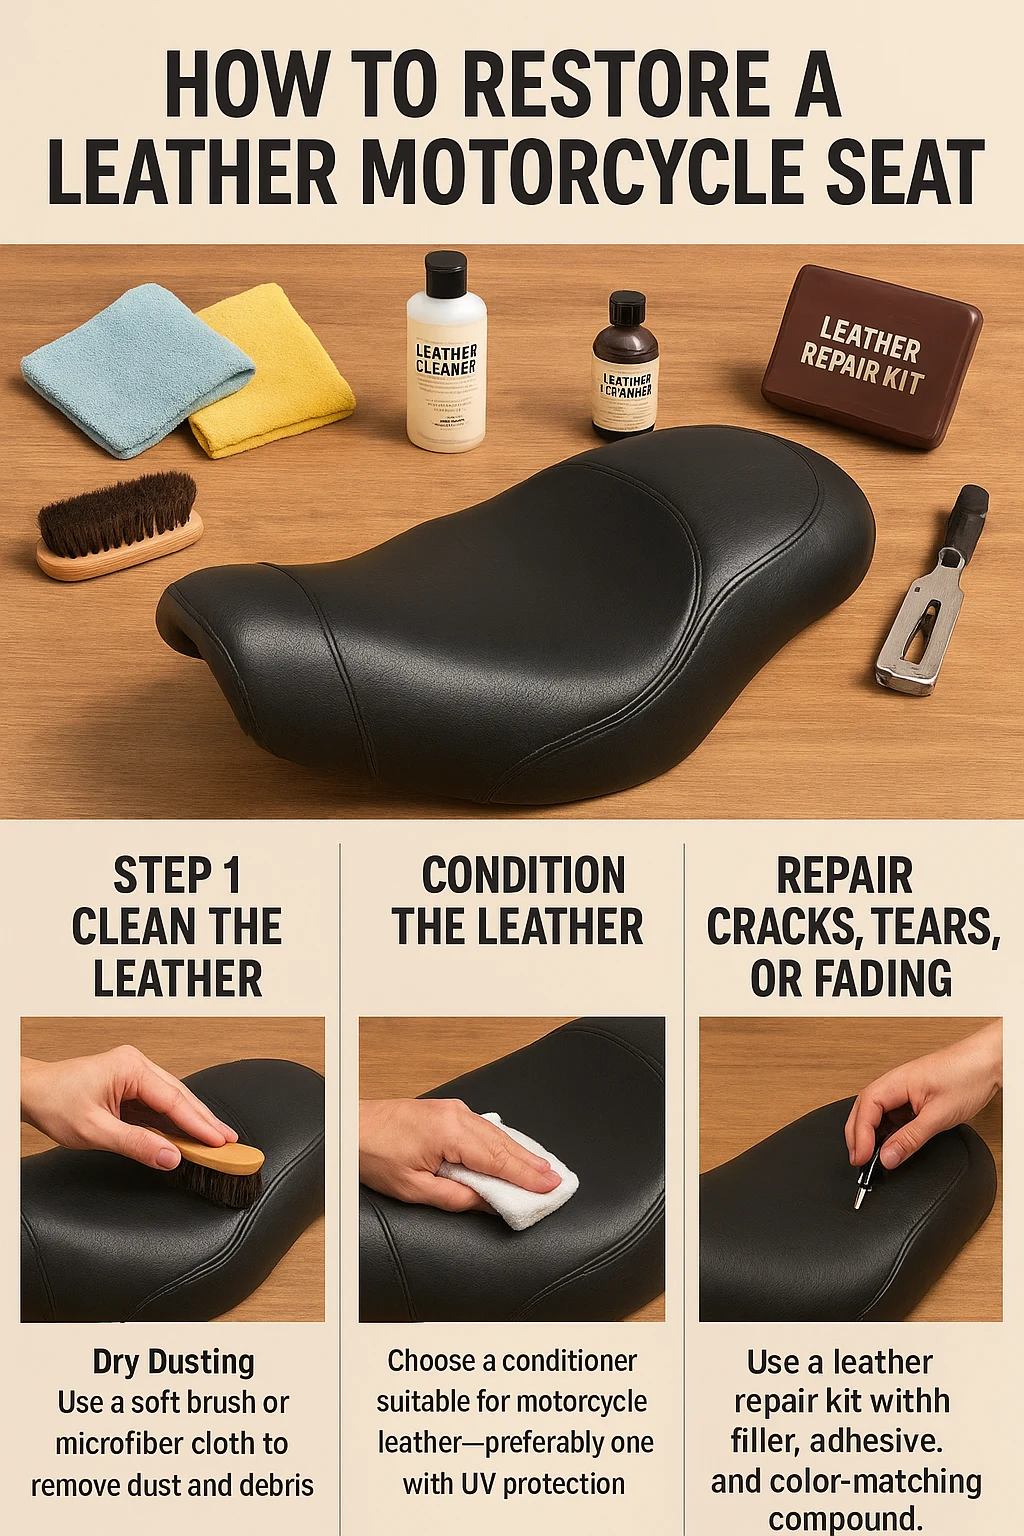
Tools and Materials You’ll Need
Before you begin, gather the following items:
- Microfiber cloths
- Soft-bristled brush
- Leather cleaner (saddle soap or pH-balanced product)
- Leather conditioner
- Leather repair kit (for cracks, tears, or fading)
- Replacement seat foam (if needed)
- Heavy-duty stapler or upholstery sewing machine
- UV protectant or leather sealant
- Optional: breathable or waterproof seat cover
Step-by-Step: How to Leather Motorcycle Seat Repair and Restoration

Step 1: Clean the Leather
Cleaning is crucial before applying any conditioners or repair products.
- Dry Dusting
Use a soft brush or microfiber cloth to remove dust and debris. - Deep Clean
Apply a leather-safe cleaner with a damp cloth. Focus on seams and textured areas where grime accumulates. Avoid household cleaners, as they can damage the leather. - Rinse and Dry
Wipe off any residue with a clean, damp cloth and let the seat air dry away from direct sunlight or heat sources.
Step 2: Condition the Leather
Conditioning brings dried-out leather back to life by replenishing its natural oils.
- Choose a conditioner suitable for motorcycle leather—preferably one with UV protection.
- Apply a small amount using a microfiber cloth in circular motions.
- Let it soak in for 15–30 minutes.
- Buff off any excess with a clean, dry cloth.
Step 3: Repair Cracks, Tears, or Fading
If your seat has visible damage, here’s how to fix it:
Minor Damage
- Use a leather repair kit with filler, adhesive, and color-matching compound.
- Apply the filler to cracks or small holes and smooth it out.
- Let it dry completely before applying color.
Major Damage
- For large tears or degraded sections, consider:
- Leather patch kits (self-adhesive or heat-bonded)
- Professional reupholstery (especially for vintage or expensive bikes)
Faded Leather
- Use a leather dye that matches your seat color.
- Apply in thin, even coats and allow to dry fully between layers.
Step 4: Replace or Restore the Foam (Optional)
If your seat feels lumpy or uncomfortable:
- Remove the seat cover carefully using a staple remover or flathead screwdriver.
- Measure and cut replacement foam to match the original shape.
- Glue or place the new foam on the seat pan.
- Reattach the leather using a heavy-duty stapler or upholstery thread.
Step 5: Protect and Seal
To prevent future damage:
- Apply a UV-protectant sealant after conditioning and repairs. This helps repel water, block sun damage, and enhance shine.
- Use a seat cover when parked outside or during long periods of storage.
Ongoing Maintenance Tips
Monthly Routine
- Wipe down your seat with a damp cloth.
- Reapply conditioner every 1–2 months depending on riding frequency.
Seasonal Care
- Summer: Use UV protection more often and park in the shade.
- Winter or Rainy Season: Store the bike indoors or use waterproof seat covers.
Common Mistakes to Avoid
- Using household cleaners: They strip the leather’s oils and can cause cracking.
- Skipping conditioning: Dry leather becomes brittle and cracks quickly.
- Over-conditioning: Can leave a sticky residue that attracts dirt.
- Ignoring small cracks: These often grow larger if untreated.
When to Call a Professional
If your seat has extensive damage, like large tears, mold, or severely dried-out leather, you might want to contact a leather repair professional. They can restore seats with industrial-grade tools and color-matching techniques that are hard to DIY.
FAQs
How often should I clean and condition my leather seat?
Aim to wipe down your seat weekly (or biweekly if you don’t ride as often) to remove dirt and grime. Deep clean and condition every 1–3 months, adjusting based on weather and exposure.
Can I use household cleaners like bleach or dish soap?
No. Harsh household products can strip leather of its natural oils, leading to dryness and cracking. Use cleaners specifically formulated for automotive or motorcycle leather.
What should I do if my motorcycle leather seat gets wet?
Don’t panic, as leather is generally water-resistant. If it gets damp, let it air-dry naturally (not in strong sunlight) and condition it afterward to restore suppleness.
How can I protect my leather seat from UV damage and fading?
Use a UV protectant spray or conditioner and park in shaded areas whenever possible. Proactive protection helps prevent discoloration, drying, and cracking.
How do I detect early signs of wear or damage in a leather seat?
Check for fading, cracks, rough spots, compressed foam, and frayed stitching; these are telltale signs that maintenance or repair may be needed.


