Key Takeaways
- DIY seat cover installation is easy and affordable.
- Quality tools and materials ensure a tight, wrinkle-free fit.
- Stretch and staple in sequence for an OEM-style finish.
- Check or upgrade seat foam for added comfort on long rides.
It was a perfect fall morning on the Blue Ridge Parkway; that legendary ribbon of road stretching through the Appalachian Mountains. The air was a bit cold and those endless curves made it a dream ride. But by mile 80, my excitement had turned into agony. Each bump felt like a jab to my lower back, and my worn-out vinyl seat offered zero relief.
By the time I pulled into an overlook, I wasn’t admiring the view anymore, I was Googling “how to fix a motorcycle seat.”
That’s when I decided to upgrade my seat with a custom cover. A simple fix, under $50 and just an hour of work, turned my bike into a comfort machine. No more sliding, no more sore spots, just smooth support mile after mile.
If your seat feels like a torture device disguised as a saddle, this guide will show you step-by-step how to install a motorcycle seat cover that looks sharp and rides even better.
Tools & Materials You’ll Need
Before you start, gather the following tools and materials:
Basic Tools
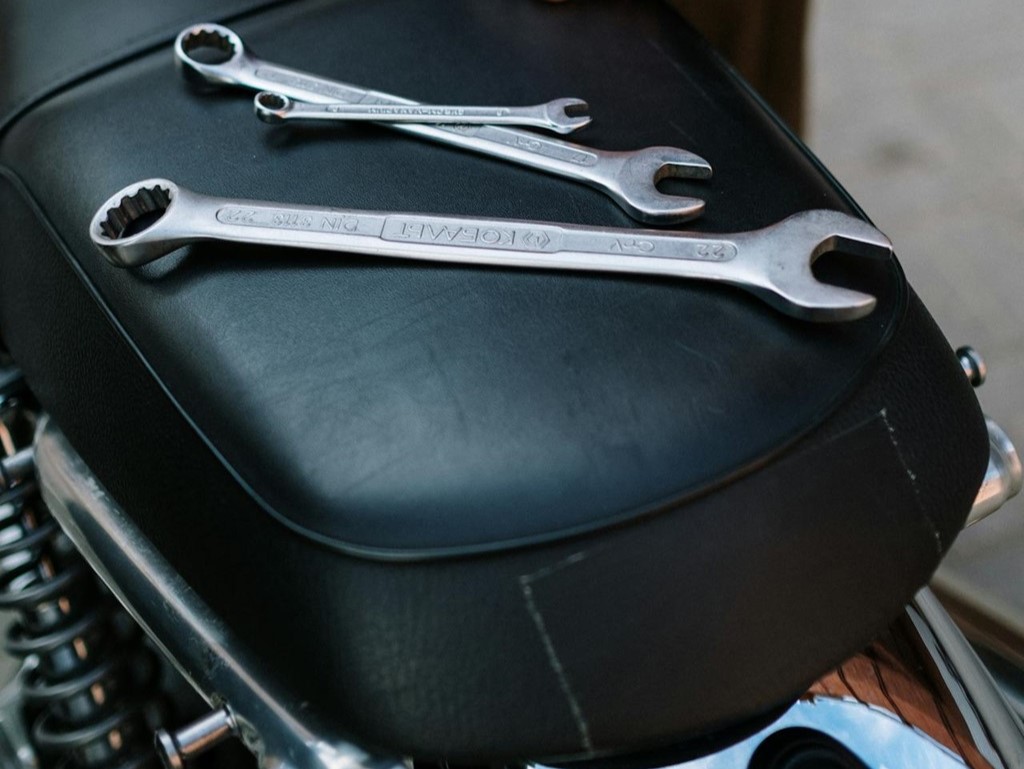
- Flathead screwdriver & needle-nose pliers (for removing staples)
- Pneumatic or electric staple gun (70–100 PSI recommended)
- 6mm (1/4”) stainless steel staples
- Utility knife or new Stanley blade
- Measuring tape
- Tailor’s chalk or fabric marker
- Sharp scissors
- Clothespins or spring clamps
- Double-sided tape or spray adhesive
- Optional: Heat gun or hairdryer (to soften vinyl)
- Optional: Gel insert or replacement foam
Materials
- Motorcycle seat cover (pre-made or DIY cut)
- Marine-grade vinyl, neoprene, or weather-resistant fabric
- Strong synthetic thread (if sewing)
- Water-repellent treatment spray (optional but recommended)
How to Install a Motorcycle Seat Cover

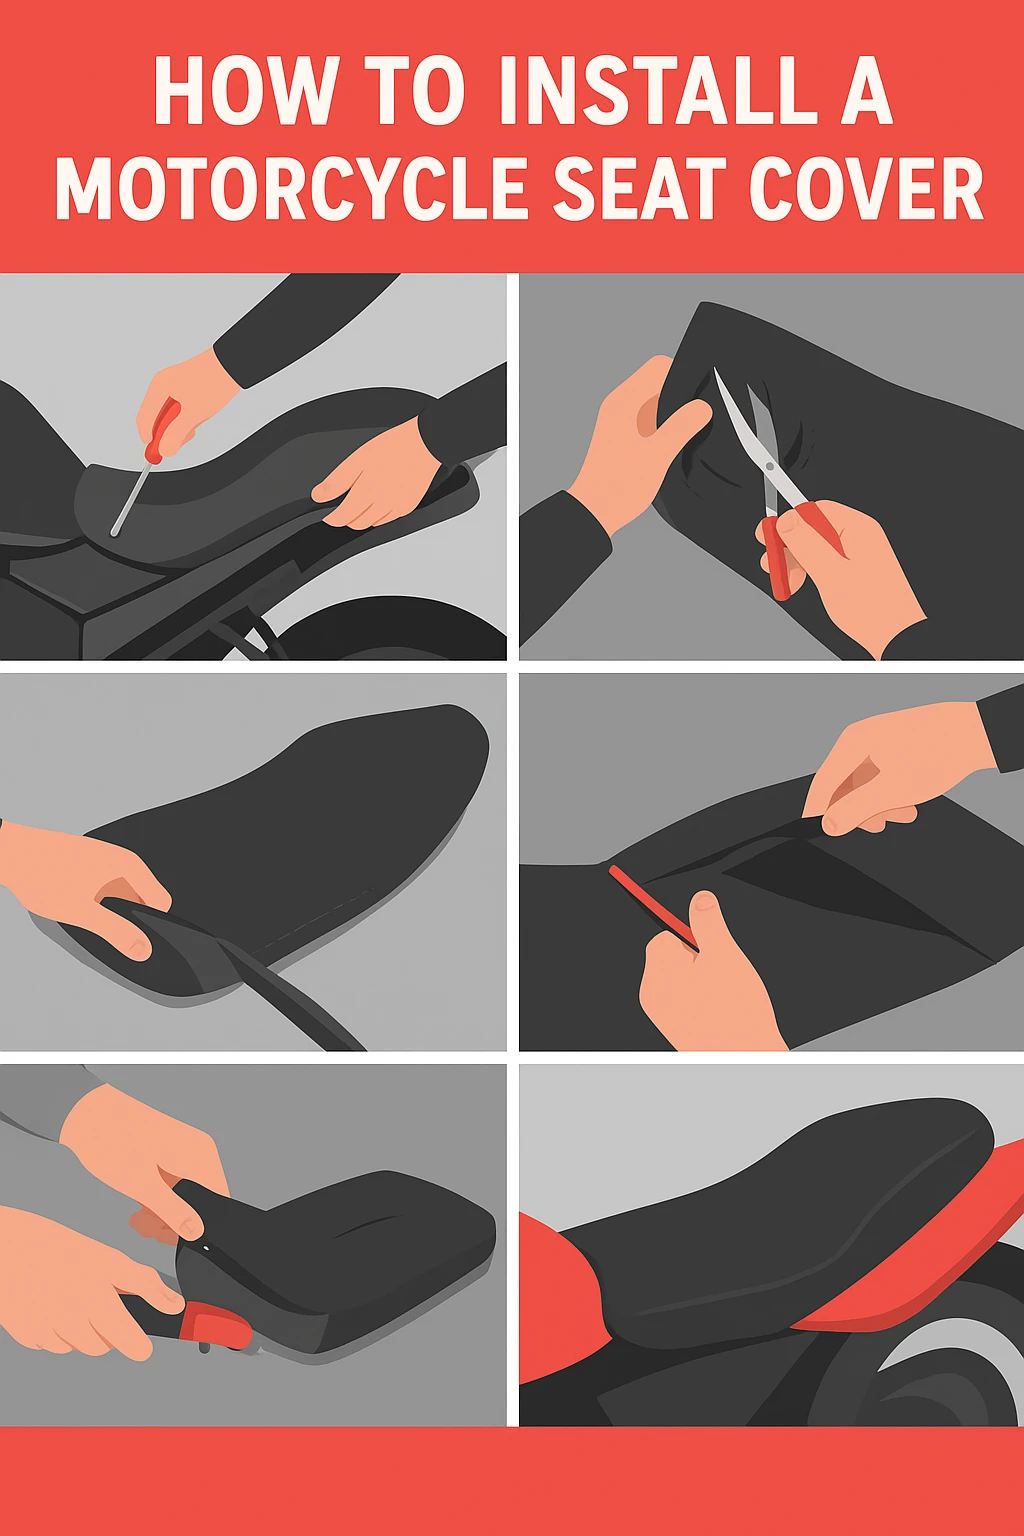
Step 1: Remove the Seat from Your Bike
Start by detaching the seat from your motorcycle. Most seats are held on with a few bolts or quick-release clips.
Refer to your owner’s manual if you’re unsure. This gives you full access and makes working on the seat easier and safer.
Step 2: Remove the Old Seat Cover
Flip the seat upside down and inspect how the current cover is attached. Most are stapled to a plastic or metal seat pan.
- Use a flathead screwdriver to lift staples.
- Remove them with needle-nose pliers.
- Take your time to avoid tearing the foam or cracking the seat pan.
If the cover is glued on, gently peel it off. If the foam is damaged, now is the time to replace or upgrade it.
Step 3: Inspect & Upgrade the Foam (Optional but Smart Choice)
With the cover off, check the foam for cracks, crumbling, or compression.
You should consider adding:
- Gel inserts for long-distance comfort
- Memory foam layers
- Spray adhesive to bond replacement foam securely
Remember that a poorly padded or angled seat can lead to numbness or sciatic pain, especially on rides over 1 hour. The same type of gel used in medical cushions and shoe insoles is now used in premium motorcycle seat upgrades for better weight distribution and vibration dampening.
Step 4: Clean and Prep the Seat
- Wipe down the foam and seat pan with a damp cloth.
- Avoid pressure washers—use a hose and soft-bristle brush for stuck-on dirt.
- Let everything dry completely before the next step.
This ensures good adhesion and keeps moisture from being trapped under the new cover.
Step 5: Measure and Cut Your New Seat Cover
If you’re using using DIY material:
- Lay the fabric over the seat with the grain direction aligned.
- Mark a centerline on both seat and fabric.
- Pull the fabric snug and use tailor’s chalk to trace the seat shape.
- Leave an extra 1 inch (25mm) border for stapling.
- Cut carefully with sharp scissors or a utility knife.
Step 6: Pre-Position the Cover with Pins or Tape
Use straight pins, clothespins, or clamps to align the cover before stapling:
- Start by pinning or clamping the front center.
- Then do the rear center, pulling the cover tight.
- Next, clamp side centers.
- Smooth out any wrinkles by stretching diagonally.
This ensures an even, wrinkle-free fit and allows adjustments before permanent stapling.
Step 7: Staple the Seat Cover in Place
Use your pneumatic or electric staple gun to secure the fabric to the seat pan:
- Start with front and rear staples, then alternate side to side.
- Work in small sections, pulling the material taut before each staple.
- Staple ½ inch apart for strong hold.
- Avoid staples that go too deep into the foam—adjust pressure or use a staple guard.
To protect the seat cover from rain and UV rays, you can add a waterproofing layer. Consider applying:
- Water-repellent fabric spray
- UV protectant for vinyl or leather
- Let it dry fully before reinstallation
Step 8: Trim Excess Material
Once stapled all around:
- Use a fresh blade to trim excess fabric.
- Leave at least ¼ inch (6mm) beyond staples for durability.
- Check for missed staples and re-secure any loose areas.
Step 9: Reinstall the Seat
Bolt or clip the seat back onto your bike. Give it a firm press to ensure everything sits flush. Take a test sit; if you did it right, it should feel smooth, tight, and better than stock!
FAQs
How do I know what size to cut my seat cover?
Measure the widest and longest parts of your seat, add 2–4 inches to account for stretch and overlap. Mark and test-fit before cutting.
What if I don’t have a staple gun?
Try using Velcro strips, strong double-sided tape, or sewing elastic bands around the seat pan, but for the most durable fit, a stapler is best.
Can I install a seat cover without removing the old one?
It’s possible, but not recommended. The old cover may bunch, trap moisture, or interfere with a snug fit.
Should I stretch the cover while stapling?
Yes. Pull firmly and evenly to avoid sagging or wrinkles. Warm the fabric slightly to make it more pliable.
How long will a DIY seat cover last?
With proper installation and material, it can last 3–5 years or more. Marine-grade vinyl offers the best weather resistance.


![How to Measure Motorcycle Handlebar Diameter [For the Perfect Fit] 5 Read more about the article How to Measure Motorcycle Handlebar Diameter [For the Perfect Fit]](https://www.motozmo.com/wp-content/uploads/2023/11/motorcycle-handlebar-300x169.jpg)