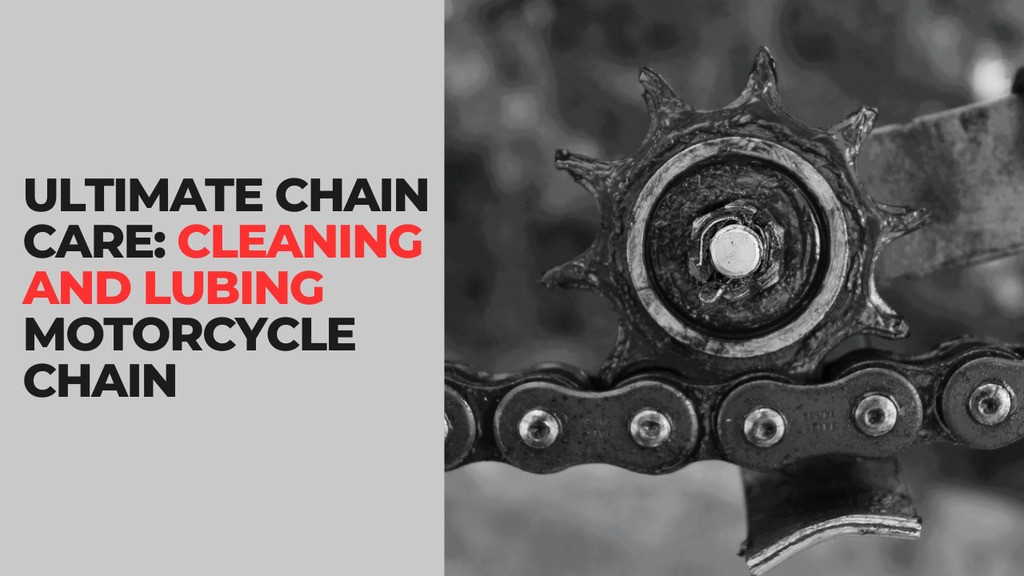
Does your motorcycle chain look like it’s seen better days? If it’s all grimy and gross, you’re not alone.
Keeping your chain clean and lubricated is key to bike happiness, but it’s also a chore nobody looks forward to.
In this detailed guide, I’ll spill all the secrets to cleaning and lubing motorcycle chain. You’ll learn how to spot wear and choose the right lube.
Cleaning and Lubing Motorcycle Chain: All the Steps
It may not be fun, but a clean chain means smooth sailing down the road. Read on for the simplest steps to stamp out sludge and silence squeaks for good.
1. Preparation
- Ensure bike is positioned properly for access (center/paddock stand or on kickstand)
- Gather necessary supplies (cleaner, lube, brush, rags)
The first step is prep – we’ve all had those moments where we’re halfway through a job only to realize we’re missing a crucial tool. To avoid cussing out your chain, make sure to plan ahead.
Figure out how you’re going to position your trusty steed. Most newer bikes have a handy center stand, making the chain super accessible.
Older bikes can use a side or paddock stand. If you’re stand-less like my first Honda, a sloped driveway and steady kickstand do the trick.
Now do a supply check. Keep it simple – a spray bottle of kerosene, old toothbrush, rags, and lube of choice will polish that pile of links in no time.
PRO TIP: converting an old WD-40 or Pledge bottle makes for easy cleaner application.
I like using bar and chain oil I already have for my dirt bike. Group projects also mean clean-up is faster when you rope in a buddy for their labor in exchange for a post-job beer.
With bike and gear sorted, you’re all set to scrub away those grubby grooves!
2. Inspecting the Chain and Sprockets
- Check chain for proper tension and signs of wear
- Examine master link and ensure it’s secure
- Inspect sprockets for wear like shark fins or sharp teeth
Start by checking the tension and give it a good squeeze. It shouldn’t be too loose, but definitely not so tight it sounds like your engine is going to explode.
Next, inspect for obvious signs of wear. On my buddy’s old Suzuki, you could move the links about an inch side to side. Yikes!
Also take a look at the clip or rivets on the master link. Makes sure that sucker isn’t going anywhere or you’ll be dumped on the street.
While you’ve got the magnifying glass out, examine those expensive sprockets too. You’ll likely see some normal wear patterns.
Replacing just one part is wasting money. A worn chain is an unhappy chain, so keep those peepers peeled for potential problems areas before taking her out.
SEE MORE: The Ultimate Guide to How to Remove Rust from Motorcycle Chain
3. Cleaning the Chain
- Spray liberal amount of cleaner and scrub with brush
- Identify chain type (plain vs sealed/O-ring) and appropriate cleaning method
- Scrub all accessible sides of the chain
- Rinse with additional cleaner and scrub as needed
It’s time to break out the brushes and degreaser. For cleaning solution, I like using simple kerosene – it’s cheap and does the job well. Spray that sucker down good – these chains get nasty!
For heavier gunk, let it soak a bit first. Bring out the big guns – a stiff nylon brush like the Grunge Brush gets into all the nooks.
Now, check your chain type – is it a finicky O-ring chain or old-school plain flavor? Plain chains can handle raw scrubbing power, but be gentle with sealed ones.
The last thing you want is a torn seal grinding away inside. For those, stick to light sweeping and avoid pushing grime down inside.
No matter the style, focus that brush on all visible facets – top, bottom, inside, out. Get in there good to remove built-up crud.
Don’t be shy about pressuring heavily caked on muck either. This ain’t no beauty contest, so digging in is A-OK.
If things are really locked in there, a light sanding with emery cloth or steel wool can loosen it first before scrubbing.
When the links look clean and bright again, give ‘er another kerosene bath and scrub once more for good measure.
At this point, you’ll see less and less muck coming off so you know you’re winning the dirt battle. One final rinse and you’re left with a practically sparkling set of rollers, ready for fresh lube love.
4. Drying the Chain
- Thoroughly wipe chain dry with clean rags
- Ensure no residual cleaner remains before lubing
Now that your chain is clean as a whistle, it’s time for the final cleaning phase – drying ‘er off! This is a crucial step often rushed, but don’t you dare skip it, buddy. Any leftover cleaner will dilute your lube and possibly attract more gunk long-term.
Take some clean rags and give that puppy a thorough wipe down. Check between each link and get up inside where moisture likes to hide.
Twisting the chain while wiping helps flush out degreaser. If it’s a particularly grimy chain, lay it out in the sun to fully evaporate residual liquids.
Inspection time again! Give the links a critical once over looking for any moist spots or cleaner smears. At this point, you’ll have really good chain vision and can easily spot any problem areas needing retreatment.
Once fully dry to your discerning eye, your chain is ready for a fresh coat of slicking lube. All that’s left is to reward yourself with your favorite beverage for battling slime like a champ!
5: Lubing the Chain
- Identify appropriate lube for chain type
- Apply lube evenly, coating all accessible sides
- Detail differences in lubing plain vs sealed chains
- Wipe away excess lube as needed
Alright buddy, now comes the fun part – picking your poison and slathering on sweet, sweet lube. The choice can get overwhelming since there are a million types out there.
For casual dirt use, a basic oil like 20W50 works a treat. On the street, aim for something thick that won’t fling off, like a wax lube.
Whatever you choose, make sure to read labels – some aren’t meant for high-speed or O-ring chains. Plain chains can take standard oil since the links are designed to bathe internally.
Sealed O-ring needs surface lube that doesn’t gunk up the rubber seals. Go lighter here or risk damage.
Once selected, take your time coating every nook evenly. I like to lay the chain out and swipe both sides of each roller link.
Pay extra attention around inside edges and joints that see heavy flexing. Generous amounts are best, but too heavy a coating with fling and dirty your bike.
After lubing sealed chains, wipe away excess for a sleek shine. Forgo this step for plain guys – they want a lush, oily appearance.
Spin the rear a few rotations to allow lube to spread. Check for any dry spots missed and hit them again.
With coated links, your chain will spin like butter and thank you with smooth sailing. Just remember – fresh lube monthly will keep her noises down where it counts, if you know what I mean! Clean chains mean happy days on the road.
6: Completing Maintenance
- Clean up work area when finished
- Recommend maintenance schedule
- Suggest re-inspecting work before riding
The hard work is done and it’s time to clean up and review your handiwork. Put away tools and toss rags and degreaser bottles in the trash. No sense leaving a slippery, stinky mess for yourself down the road.
While fresh in your mind, take one last look at that chain. Check it spins smooth as butter from all angles.
Give a good hard look to see if your lube job missed any tight spots. Twirl the rear tire to spread lube fully before buttoning it all back up.
As for upkeep, most recreational riders can get away with cleaning and lubing every few hundred miles if weather and conditions allow.
For longer freeway commutes or rainy season, aim for monthly or bimonthly. Mark your calendar so it becomes habit!
All that’s left now is to fire up that sweet ride and enjoy some wind therapy after a job well done.
Just be sure to give her one last inspection spin before really opening her up to ensure your hard work holds up down the road!
SEE MORE: 9 Easy Motorcycle Maintenance Basics Before Spring Riding
FAQs About Cleaning and Lubing Motorcycle Chain
What’s the best type of motorcycle chain cleaner to use?
Kerosene works very well and is inexpensive. Other good options include mineral spirits, gasoline or dedicated motorcycle chain cleaners. Avoid strong alkaline degreasers.
What lube should I use on a sealed O-ring chain?
Look for a lightweight lube that won’t gunk up the O-rings. Wax-based lubes and ones labeled for sealed chains work well. Avoid thick oils.
How often should I clean/lube my chain?
Most recommend every 300-500 miles or monthly, but it varies by riding conditions. More frequent in wet/dirty conditions or if you can hear/feel the chain getting dusty.
My chain makes noise when I ride – is it time for replacement?
Noises could mean it’s just dirty or the lube is old. Clean and lube it first before assuming replacement is needed. Major noise after cleaning may indicate excessive wear.
Do I need to replace the sprockets when changing the chain?
If the sprockets show signs like shark teeth, they are likely worn too and should be replaced to avoid damaging a new chain prematurely.
Can I reuse my old master link when changing the motorcycle chain?
No, for safety always replace the master link with a new factory link when installing a new chain.
My chain feels too loose after cleaning – what now?
Cleaning can cause some tension variation. Re-adjust it as per your manual’s specs before riding to ensure proper alignment.

