It’s that time of year again! The weather is getting warmer, and you dust off your motorcycle after a long winter of hibernation.
Before you take it out for a spin, you must do some servicing. Here are some easy motorcycle maintenance basics to prepare your bike for spring riding.
Easy Motorcycle Maintenance Basics for Spring Riding
From checking fluids and spark plugs to tightening bolts and adjusting chains, these simple tasks will keep your bike running smoothly. Not sure where to start? Check out our list of 9 basic maintenance tasks.
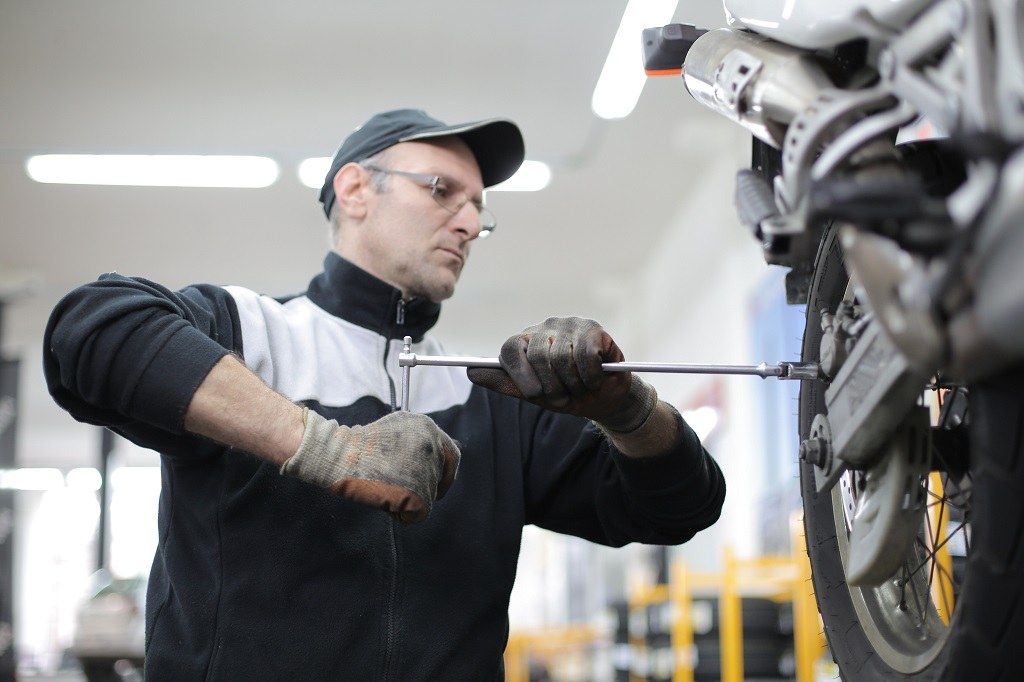
Part of being prepared means giving your motorcycle a once-over to make sure everything is in working order. Here’s a quick guide to checking your bike for any loose or damaged parts.
Here’s a quick rundown if you are more comfortable with video content.
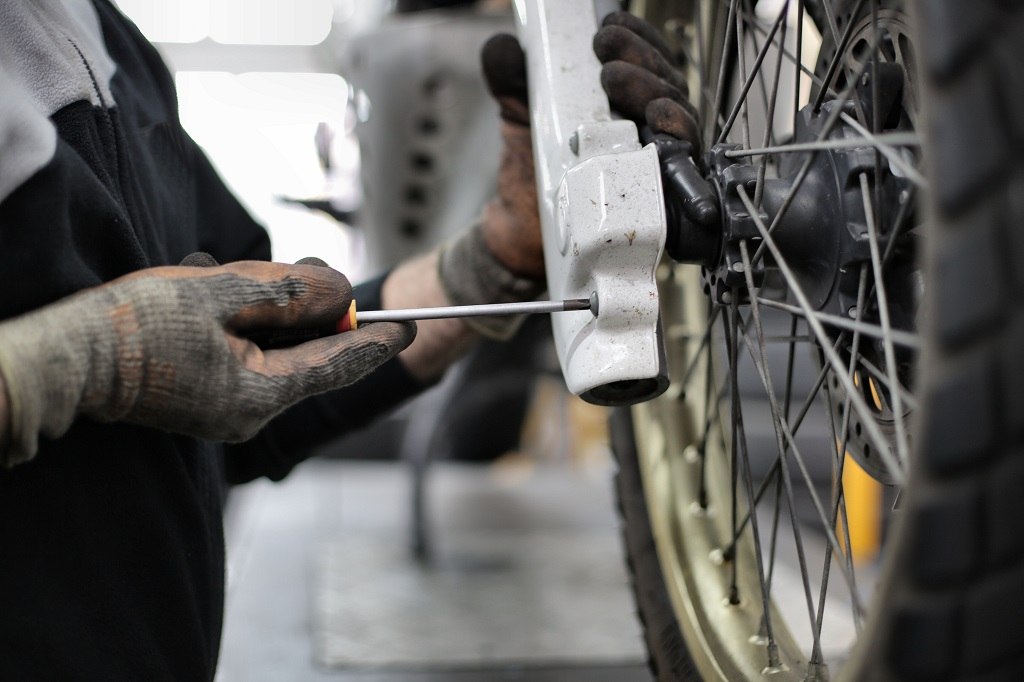
1. Check the tires
It’s essential to check your motorcycle tires, especially after long-term storage.
Tires are the only part of your motorcycle that touch the ground, so they’re crucial for safety. You risk crashing on the road if they’re not in good condition.
Even the best tires can lose air pressure over time, which affects your motorcycle’s handling. Check the pressure regularly and inflate them to the recommended level.
Tires can also develop flat spots from sitting for too long. It can cause a “bouncing” feeling when you ride. To avoid this, roll your motorcycle back and forth a few times before you get on and ride.
If you’re not sure how to check your motorcycle tires, it’s easy. Just use a tire pressure gauge to check the pressure. You can find these at most auto parts stores.
It’s also a good idea to visually inspect your tires for any wear or damage. If you see any cracks, bulges, or bald spots, it’s time for a new tire.
By taking a few minutes to check your motorcycle tires, you can help keep yourself safe on the road.
SEE MORE: When to Replace Motorcycle Tires — Look for the Signs
2. Examine the brakes
Keeping your brakes in good working order is essential to your safety and your motorcycle’s longevity.
You should check a few different things when inspecting your brakes, including the brake pads, rotors, fluid, and lines.
a. Brake Pads
The brake pads are one of the most critical parts of your braking system. They’re responsible for providing the friction that stops your bike.
They continuously come into contact with the rotor (the spinning metal disc that the brake pad grabs onto to slow down the wheel).
Over time, brake pads will wear down, which is normal and expected. You can check the thickness by removing the wheel and measuring the pads with a caliper or brake gauge. Most brake pads should be at least 2mm thick. If they are thinner than that, they need to be replaced.
b. Brake Rotors
The rotors are the metal discs the brake pads grab onto to slow down the wheels. They can become warped or damaged for various reasons.
Check the condition of the rotors by removing the wheels and inspecting them. Replace or repair depending on their state.
c. Brake Fluid
Brake fluid is what gives your brakes the power to stop your motorcycle. It transfers the force from your brake lever to the brake pads. It’s stored in a reservoir and pushed through the brake lines to the brakes.
Like any other fluid in your motorcycle, brake fluid can degrade over time, especially when you don’t ride the bike for a long time. It can lead to a loss of braking power.
Remove the reservoir cap and look at the level of fluid inside. It should be between the “min” and “max” lines. If it’s low, top it off with fresh brake fluid.
d. Brake Lines
The brake lines carry the brake fluid from the reservoir to the brakes. They’re made of reinforced rubber or metal and can degrade over time.
Leaks in your brake lines can lead to a loss of brake fluid and decreased braking power.
So, inspect the lines for any signs of wear or damage. Replace the lines if you see any cracks, leaks, or other damage.
3. Lubricate the chain and sprockets
Your chain and sprockets are what transfer power from the engine to the wheels and work together to keep the bike moving forward.
These parts can get dirty, dry, and brittle, causing the motorcycle to lose power and performance. If you don’t clean and lubricate them, they can rust and wear out, causing severe safety issues.
Checking and lubricating your chain and sprockets is a simple task that takes just a few minutes. Here’s a quick guide on how to do it:
- Park the bike on a level surface or lift it with a stand.
- Spin the rear wheel and inspect the chain and sprockets for any damage or wear.
- Use a brush to remove any dirt or debris stuck to the chain. Clean it with a rag.
- Lube the chain. You can use a special motorcycle chain lubricant or apply WD-40. Be sure to get all the links and joints.
- Wipe off any excess lubricant.
- Spin the rear wheel and let the lube set onto the chain.
- Repeat steps 3–5 for the sprockets.

PJ1 13oz Blue Label Motorcycle Chain Lube
Key Features
- Penetrates easily into nooks and crannies
- Reduces chain friction
- Create a cushioning between rollers and sprockets
- Doesn’t dry off quickly
4. Check and replace the fluids
All the fluids in your motorcycle have specific functions; they keep various parts lubricated and prevent overheating.
If you haven’t followed the proper winter storage procedure, all fluids in the bike may break down and turn less effective.
The coolant in the radiator prevents the engine from overheating. Check the level of coolant and add more if it’s low. You should also check for leaks and have the coolant flushed and replaced according to the manufacturer’s recommendations.
The brake fluid helps to prevent the brakes from locking up. It loses its effectiveness when contaminated. Flush out if the oil is sludgy, and then top up to the recommended level.
Don’t forget to examine the clutch fluid too. It helps to prevent the clutch from slipping. It should be to the correct level for the clutch to function correctly.
SEE MORE: How to Avoid a Motorcycle Crash: 11 Tips to Follow
5. Replace oil filter, air filter, and spark plugs if needed
Oil filters keep your engine clean by trapping dirt and debris. Over time, they can become clogged and need to be replaced. Air filters do the same for your air intake system. And spark plugs are critical for igniting your engine’s air/fuel mixture.
Inspecting these components is relatively easy. For the oil filter, remove it and look for any buildup of dirt and debris. If it’s filthy, it’s time for a new one.
The air filter is located in the air box. Remove the cover and take a look inside. If it’s dirty, replace it.
Spark plugs can be inspected without removing them from the engine. You’ll know it’s time to replace them when the motorcycle starts to misfire or the engine light comes on.
Replacing the faulty components is essential for maintaining your motorcycle. Not only will it keep your engine clean, but it will also help ensure peak performance.
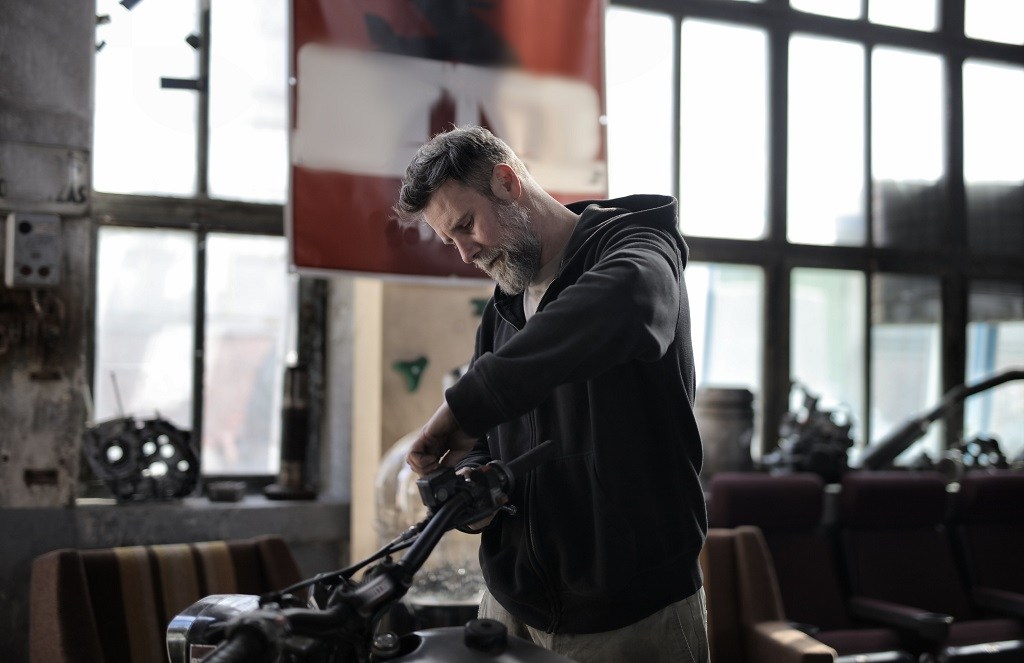
6. Adjust the handlebars, grips, and seat
After long-term storage, you should always check and adjust your motorcycle’s handlebars, grips, and seat.
The handlebars and grips can be loose, and the seat can sink. If you don’t adjust these things, it can affect your riding experience.
Loose handlebars will affect your ability to steer. Additionally, the grips can be worn down, making it difficult to hold on to the handlebars.
The seat can be uncomfortable because of padding compression, making it harder to stay in one position during a long ride. Also, there could be torn covers and ripped seams.
a. Handlebars adjustment
Check the tightness of the bolts that hold the handlebars in place. If they’re loose, tighten them up. Next, check the handlebar clamps and tighten if there is any unstable joint.
If the handlebars are still not level, you may need to adjust the triple tree. It’s a more complex adjustment, so if you’re not comfortable doing it yourself, take your bike to a qualified mechanic.
b. Fixing the handle grips
If your grips are loose, tighten them by turning the grip clockwise. If they’re too tight, loosen them by turning the grip counterclockwise.
c. Adjust the seat position
If your seat is too low or high, loosen the bolts and adjust them to the correct position. In case of padding compression, you will need to reupholster the seat.
7. Thoroughly examine the fairings
Fairings can take a beating when you’re not riding. They are susceptible to cracking and fading and can fall apart if you don’t take care of them.
One of the most common problems with motorcycle fairings is cracking or crazing the plastic or the surface paint. To fix a faded surface, apply a generous amount of plastic polish to the fairings and buff them to a high shine.
You should also look at the bolts that hold the fairings on. If they’re loose, tighten them. Finally, take a look at the seals around the fairings. If they’re dry or cracked, you’ll need to repair them.
8. Test the lights and signals
If your motorcycle’s lights and signals are not working correctly, it’s critical to fix them as soon as possible. Not only is it illegal to ride without working lights and signals, but it’s also dangerous.
The bulbs in the lights can burn out during the storage period. Check all the bulbs on your motorcycle, including the headlight, taillight, turn signals, and brake light.
If you notice some dim lights or the signal lights are not as bright as they used to be, it’s probably time to replace them.
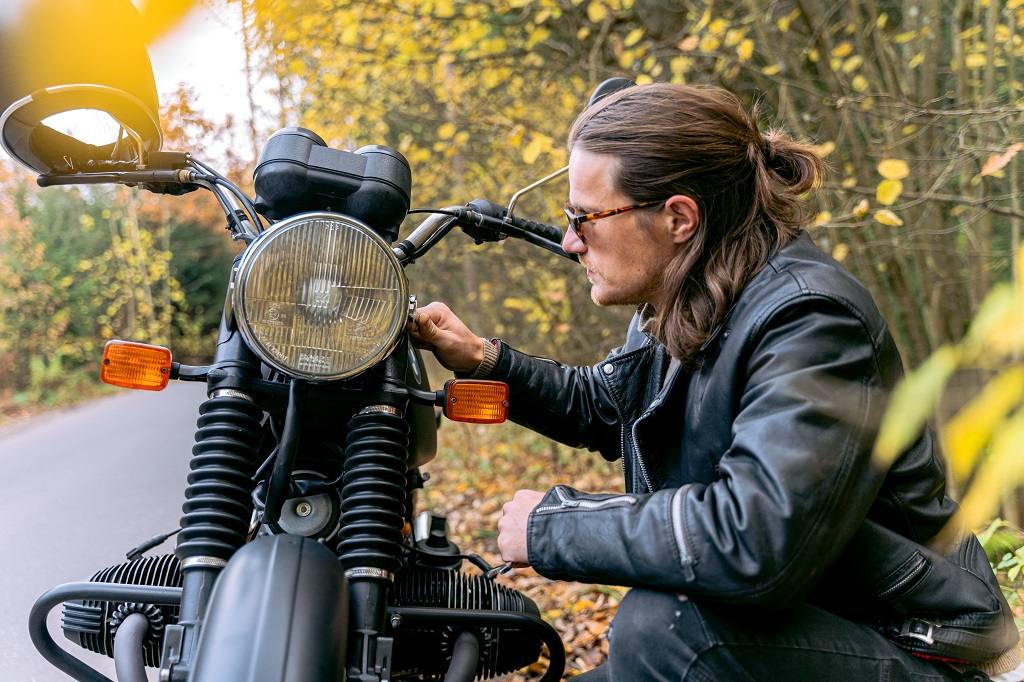
Also, don’t forget to examine the wiring, as it can become loose or frayed. Fix everything if you spot loose or torn connections.
9. Test the battery and charging system
A battery that cannot hold a charge will lead to all sorts of problems, like your bike not starting or running out of power mid-ride. And if your charging system isn’t working properly, your battery won’t get the juice it needs to stay healthy.
So, how can you tell if your battery and charging system is up to snuff? The best way is to get a professional inspection.
If you’re the do-it-yourself type, there are a few things you can check yourself.
A straightforward way is to recharge the battery fully and measure its voltage with a multimeter. You still have a fully working battery if the reading is above or at 12.4V.
A lower reading does not mean a defective battery because the issue could be with the charging system. Start the motorcycle and warm it up for a while to test it. Then, recheck the voltage with the multimeter and note if the reading is around 12–13V. A lower reading indicates a faulty charging system.
Now that you know the motorcycle maintenance basics, you can confidently hit the road this spring. You can avoid costly repairs and keep your bike running all season smoothly by performing these simple maintenance tasks.
FAQs about Motorcycle Maintenance Basics Before Spring Riding
What basic maintenance do motorcycles need before riding season?
Before riding season starts, change the engine oil and filter, grease fittings and controls, inspect your tires, battery, brakes and chains. Check all lights, signals and gauges. Also wash and wax the bike to remove corrosion.
How often should I change motorcycle oil?
You should change motorcycle oil at least once a year before riding season or every 3,000 to 5,000 miles, whichever comes first. Synthetic oils can last up to 10,000 miles before needing replacement.
How do I check motorcycle battery life?
Check the date code on the battery and replace if more than 3 years old. Use a multimeter to measure voltage, below 12 V needs charging or replacing. Check for corrosion, cracks and leaks. Have battery tested by a shop if you suspect poor performance.
What fluids should I check on a motorcycle?
Check engine oil, transmission fluid, hydraulic brake fluid and coolant levels. Make sure fluid levels are within the minimum and maximum marks on the reservoirs. Top up or change the fluids as recommended.
How often should I change motorcycle brake fluid?
Motorcycle brake fluid should be changed every 2 years to maintain maximum braking performance. The fluid absorbs moisture over time which reduces braking effectiveness and can corrode components.
Should I lube my chain before riding?
Yes, lubricating your chain before riding season starts is essential. Clean the chain thoroughly first to remove built-up grime, then lubricate with the recommended oil or wax for your chain type.
How often should I lubricate my chain?
Once every 400 to 800 miles or when the chain appears dry, apply fresh chain lubricant. Check alignment and adjust chain slack as needed each time you lube.
Should I air up the tires before riding?
Yes! Check and adjust tire pressure when tires are cold for accurate readings. Inflate tires to the pressure specified by the manufacturer, usually between 32 to 42 psi for motorcycles.
![Read more about the article How to Measure Motorcycle Handlebar Diameter [For the Perfect Fit]](https://www.motozmo.com/wp-content/uploads/2023/11/motorcycle-handlebar-300x169.jpg)