Affiliate disclosure: This post may contain affiliate links. If you buy through a link on this page, MOTOZMO may earn a small commission at no extra cost to you. It helps keep our guides free. How we test and choose products.
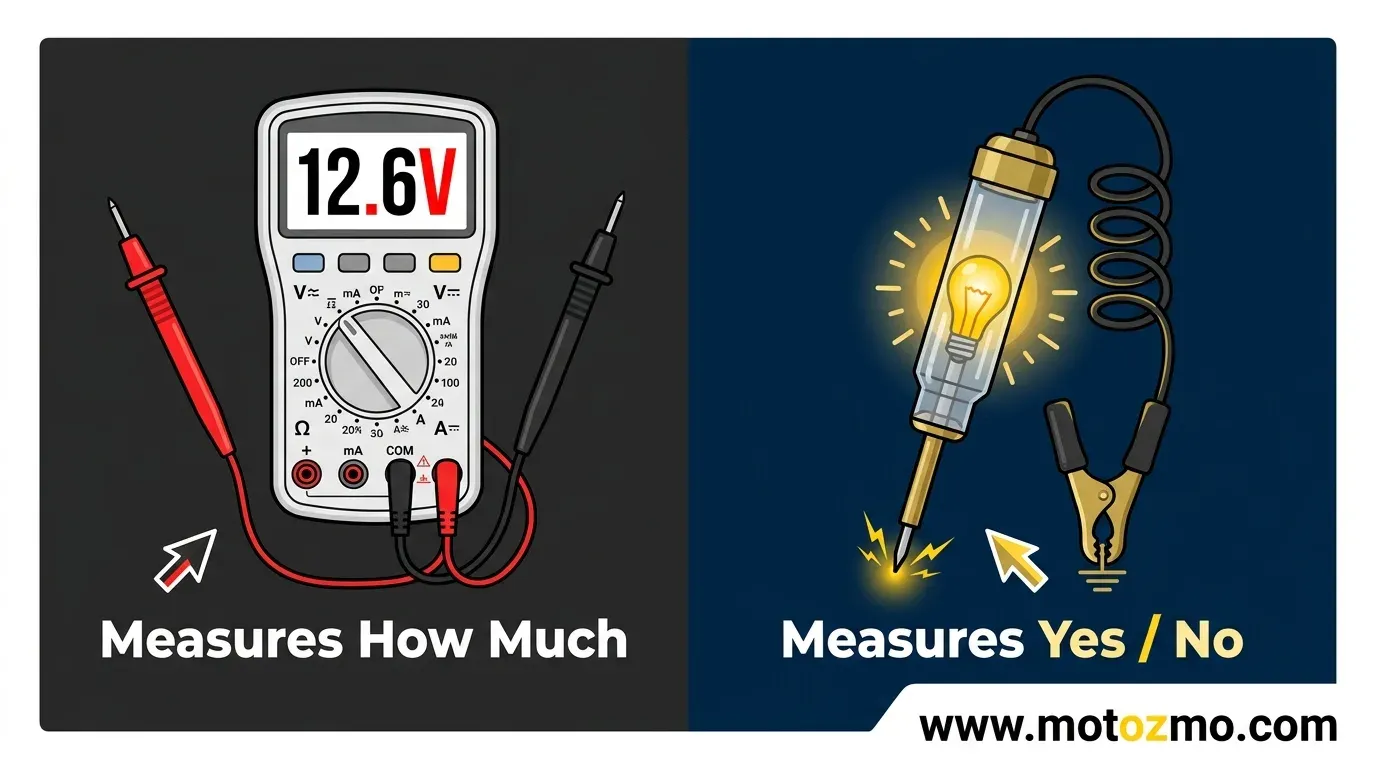
You need both tools, and using the wrong one for the wrong job either wastes your time or risks damaging your bike. A test light only tells you whether power is present, yes or no. A multimeter tells you how much, down to a fraction of a volt. Neither one replaces the other, and on a modern fuel-injected bike, reaching for the wrong one on the wrong circuit can fry a sensor.
This article breaks down which tool to grab for which job, and where each one falls short. For the bigger picture on wiring and connectors, our full guide to wiring, grounds, and connectors covers the rest of this cluster.
What Each Tool Is Telling You
A test light is a bulb with two wires. Touch one end to power and the other to ground, and if the bulb lights up, current is flowing. That’s the entire answer it gives you: yes or no. It can’t tell you if that circuit is running at a full 12 volts or a weak, struggling 9 volts, since the bulb looks about the same either way to your eye.
A multimeter measures the actual number. Volts, resistance in ohms, and continuity all show up as a precise reading on the screen, which is exactly what you need when the question isn’t “is there power” but “how much is this connection costing me.”
Which Job Needs Which Tool
| Job | Use this | Why |
|---|---|---|
| Checking if a fuse is blown | Test light | You only need a yes or no answer, and it’s faster than switching a meter to continuity mode |
| Checking if a bulb socket or switch has power at all | Test light | Same reason, a quick presence check doesn’t need precision |
| Testing a ground connection for voltage drop | Multimeter | You need a number to know if resistance is building up in that joint |
| Checking exact battery voltage | Multimeter | A test light can’t tell a healthy 12.6 volts from a weak 11.9 volts |
| Testing a sensor or fuel-injection circuit | Multimeter | A standard test light can push too much current through a delicate circuit built for a signal, not a load |
| Hunting for where power stops along a wiring harness | Either, but test light is faster | You’re moving point to point quickly, and a yes/no answer at each stop is all you need until you find the break |
The One Job a Test Light Should Never Do on a Modern Bike
A standard test light works by pulling real current through its bulb, somewhere around 100 to 250 milliamps, and that’s fine for a headlight or horn circuit that’s built to carry several amps without blinking. It’s a different story on a sensor wire or an ECU-connected circuit, which is often designed to carry only a tiny signal current.
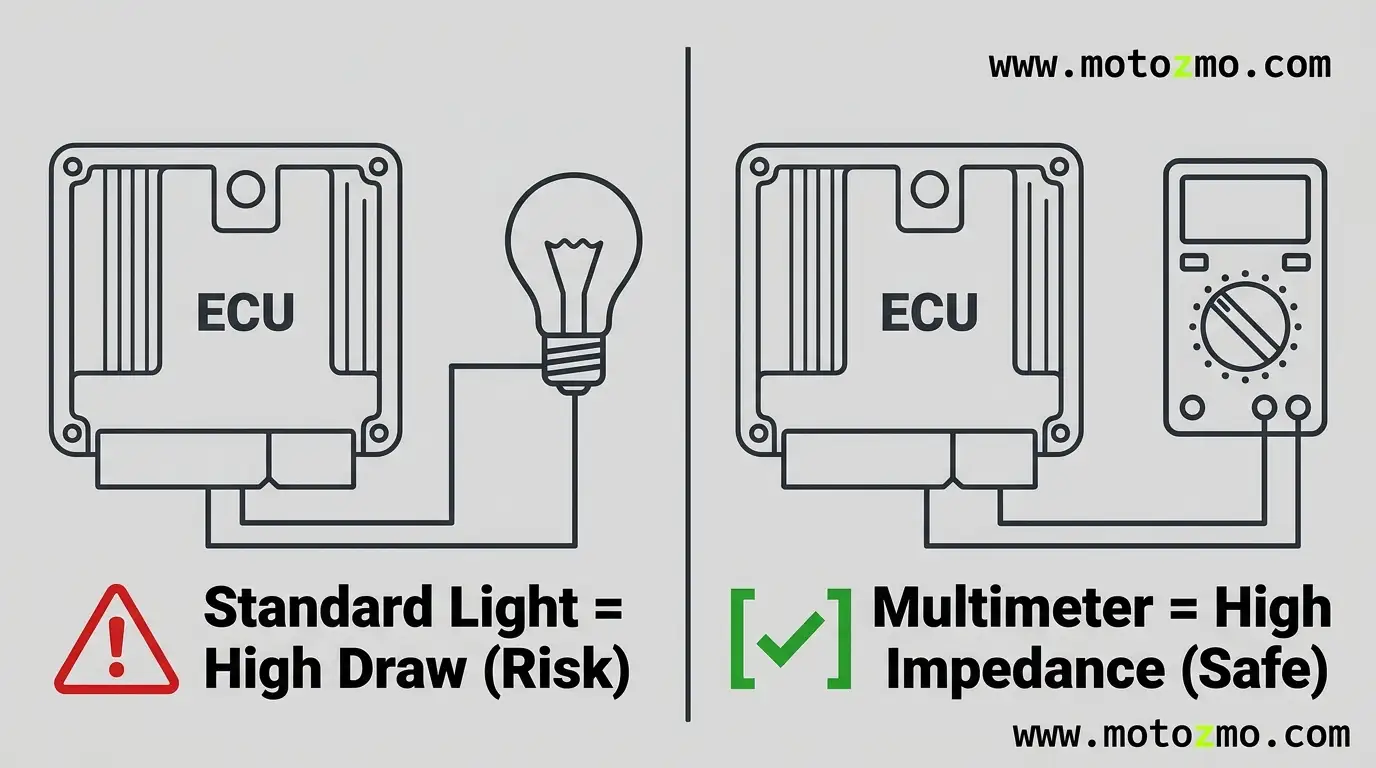
Push a standard test light’s draw through a wire like that, and you can overload the very component you were trying to check. This is why “computer safe” testers exist as a separate category of tool: Lisle Corporation’s computer-safe tester is built to draw a fraction of the current a standard test light does, so it won’t damage the electronics behind the circuit it’s checking.
If your bike is fuel injected, which almost every current model is, keep a standard test light away from the ECU wiring and sensor connectors, and use a multimeter instead.
Where a Test Light Beats a Multimeter
A multimeter isn’t automatically the better tool for every job. When you’re chasing a break somewhere along a long harness, moving a test light from point to point and watching for a light is genuinely faster than reading a screen at every stop, since you don’t have to look away from your hands to check a result.
Grassroots Motorsports has made the same point about most everyday electrical problems: they come down to current simply not flowing somewhere, and a test light finds that break just as well as a meter does, in less time.
There’s also a subtler reason a basic incandescent test light can occasionally catch something a fast multimeter check misses. Because the bulb pulls real current to light up, it puts a load on the circuit while you’re testing, the same way turning on a headlight does.
A marginal connection that shows up fine on a quick, no-load multimeter check can still cause the test light to glow dim or flicker under that load, since a marginal joint is more likely to show a problem when something is pulling power through it.
The catch is that a dim or flickering bulb only tells you something is off, not how much. Once a test light shows you a spot worth investigating, confirm it with a voltage drop reading rather than stopping at “the light looked a little dim.”
Why This Matters for Testing a Ground Connection
A ground connection is the clearest example of why you can’t pick just one of these tools and call it done. A test light will tell you a ground is connected, full stop, but it won’t tell you whether that connection is clean enough to avoid causing trouble down the road. That’s the entire reason a proper ground test needs a multimeter for the voltage drop portion. A test light simply isn’t built to give you that number.
Do I Need an Expensive Multimeter for Motorcycle Work?
No. A basic digital multimeter that reads DC volts, resistance, and continuity covers everything on this page, and that’s a cheap, common tool. You don’t need the higher safety ratings built for household electrical work, since a motorcycle’s 12 volt system is a much lower-risk environment to test.
Can I Use a Test Light on My Ignition Coil or Spark Plug Wire?
Not a standard 12 volt test light. The secondary side of an ignition coil, the part that fires the spark plug, produces a short, very high voltage pulse that a standard test light isn’t built to handle safely. Checking for spark on that side calls for a dedicated spark tester, not a general-purpose test light or a multimeter.
Once you know which connection is causing your problem, whether you found it with a test light, a multimeter, or both, cleaning it up is the next step. Our roundup of the right grease and cleaner for the job covers that part, and if the connection turns out to be one of the common failure points on a bike’s wiring, you’ll already know what to look for next time.