
Affiliate disclosure: This post may contain affiliate links. If you buy through a link on this page, MOTOZMO may earn a small commission at no extra cost to you. It helps keep our guides free. How we test and choose products.
Do a T-CLOCS check before every ride: tires, controls, lights, oil, chassis, stands, in that order, walking around the bike once. It takes about two minutes once it becomes habit, and it catches the failures that actually strand riders or put them on the ground.
I used to skip the whole thing on short trips, until a rear tire running 8 PSI low turned a quick errand into a wobbling mess I felt in every corner.
The Motorcycle Safety Foundation built T-CLOCS so no system gets skipped, but most guides just reprint the six letters and leave you standing in the garage wondering where to start.
Below is the walk-around order I use, what each stop is really checking, and how to decide whether a finding means ride, fix it first, or don’t ride at all. For the once-a-year deep version, see my spring maintenance checklist.
What T-CLOCS Stands for
Each letter is one system, checked in an order that flows around the bike:
- T — Tires and wheels: pressure, tread, damage, wobble
- C — Controls: levers, pedals, cables, hoses, throttle
- L — Lights and electrics: headlight, tail and brake lights, signals, horn, switches
- O — Oil and other fluids: engine oil, brake fluid, coolant, fuel, and leaks
- C — Chassis: frame, suspension, chain or belt, fasteners
- S — Stands: side stand and center stand, springs, and cut-off switches
One detail most guides skip: the acronym used to be TCLOCK, with the K standing for kickstand only. In 2014 the MSF formally switched it to T-CLOCS, with S covering both side and center stands.
If you learned the old version in a course years ago, the check is the same. The name just caught up with bikes that carry two stands.
The Two-Minute Walk-Around
Start at the front wheel on the left side of the bike and walk clockwise. You finish where you started, at the sidestand, ready to mount. Do it while your helmet and gloves go on and it stops feeling like a chore.
Stop 1: Tires and Wheels
Crouch at the front wheel. Look across the tread for nails, glass, cuts, and bulges in the sidewall.
Check pressure with a gauge while the tires are cold. Your thumb cannot do this job. Spin the wheel and watch for wobble or a bent rim. Repeat at the rear.
If you want the full routine for reading what you find, here is my guide to checking motorcycle tires, and a good tire pressure gauge is the one tool this check actually needs.
Stop 2: Controls
Throw a leg over. Squeeze the front brake lever. It should feel firm and stop well short of the grip.
Spongy or pulling to the bar means air or moisture in the lines, and that is a no-ride finding. Press the rear brake pedal. Roll the throttle open and let go; it must snap shut on its own.
Pull the clutch lever and feel for smooth travel. Glance at cables and hoses for fraying or wet spots. Brakes deserve their own deep look now and then; see motorcycle brake maintenance for pads, fluid, and bleeding.
Stop 3: Lights and electrics
Key on. Check the headlight on high and low beam, the tail light, and the brake light off both the front lever and the rear pedal. The two switches fail independently.
Run both turn signals. Hit the horn. Flip the kill switch to run and back. A bulb that worked yesterday can fail overnight, so this stop never gets skipped.
Stop 4: Oil and other fluids
Hold the bike upright and check engine oil in the sight glass or on the dipstick, per your manual. Look at the brake fluid reservoirs. The fluid should be clear, not dark or murky, and between the marks.
If your bike is liquid-cooled, glance at the coolant reservoir. Then look at the ground under the bike. A fresh drip that was not there yesterday is worth two minutes of investigation.
Stop 5: Chassis
Push down hard on the seat and let go. The suspension should rebound once and settle, not bounce. Look at the fork seals for oily rings.
Check chain slack (about an inch of up-and-down play at the midpoint is typical; your manual gives the exact number) and run a finger along it for dryness or tight spots.
Belt riders: look for cracks or fraying. Shaft riders: check final-drive oil per the service schedule. Give visible fasteners a glance for anything backed out or missing.
Stop 6: Stands
Kick the sidestand down and up. The spring should snap it back firmly with no dragging.
If your bike has a stand cut-off switch, confirm the engine dies (or refuses to start in gear) with the stand down. That switch is the only thing between you and a left turn with the stand dragging. Check the center stand the same way if you have one.
What Fails: Ride, Fix First, or Don’t Ride
Finding something is only half the check. The other half is the call. Here is how I sort the common findings:
| Finding | Verdict | Why |
|---|---|---|
| Tire visibly low or 5+ PSI under spec | Fix first | Handling and braking degrade fast on a soft tire; air up before you roll |
| Cut, bulge, or cord showing on a tire | Don’t ride | The tire can let go without warning. Trailer it or change it |
| Brake lever spongy or pulls to the bar | Don’t ride | Air or moisture in the lines; stopping power is compromised |
| Brake light not working | Don’t ride | Drivers behind you get no warning when you slow |
| Turn signal out on a daytime trip | Fix first | Swap the bulb before you go; at night this becomes don’t-ride |
| Oil below the minimum mark | Fix first | Topping up takes two minutes; running low does not end well |
| Chain dry but slack in spec | Ride, then lube | A dry chain wears faster but will not strand you today |
| Fork seal weeping slightly | Ride, book service | Watch it; a fully blown seal leaking onto the brakes is a different story |
| Fresh oil or coolant puddle under the bike | Don’t ride | Find the leak first. Small drips get much worse at speed |
The rule underneath the table: anything that affects stopping, steering, or staying upright is don’t-ride. Everything else can usually wait for a fix-first or a same-day appointment.
NHTSA’s motorcycle safety guidance backs the same pre-ride habit: tire pressure and tread, both brakes, lights, signals, fluids, and signs of leaks before every ride.
How Often: Match the Check to Your Riding
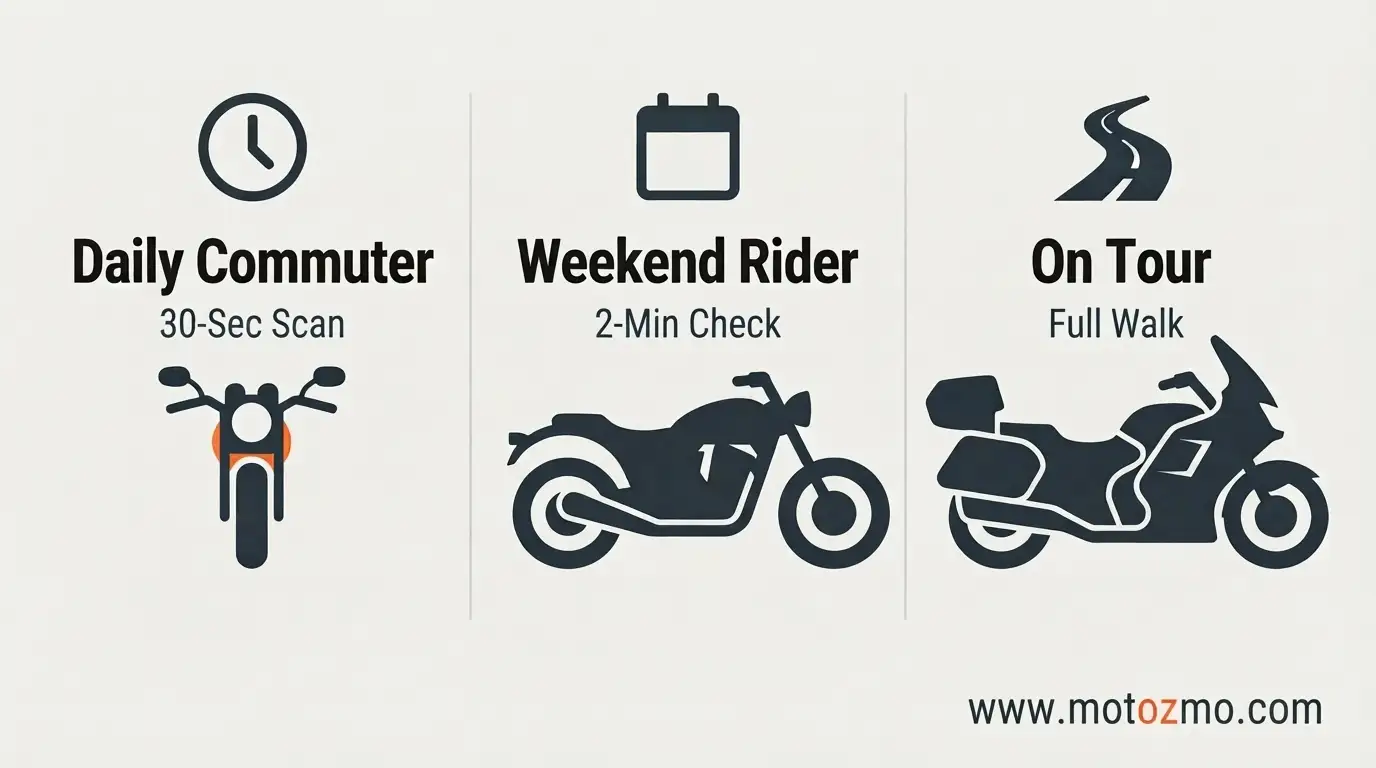
Full T-CLOCS every single ride is the textbook answer. Real life runs on a tiered version:
- Daily commuter: a 30-second scan every morning (tires, lights, brakes), plus the full walk-around once a week.
- Weekend rider: the full two-minute check before the first ride of the day. The bike sat all week; things change.
- After storage or shop work: the full check, no exceptions. Storage flat-spots tires and drains batteries, and even good shops make mistakes.
- On tour: full check at departure, then the 30-second scan at every fuel stop. Heat, miles, and loaded luggage move the numbers.
Don’t Skip FINE-C at Startup
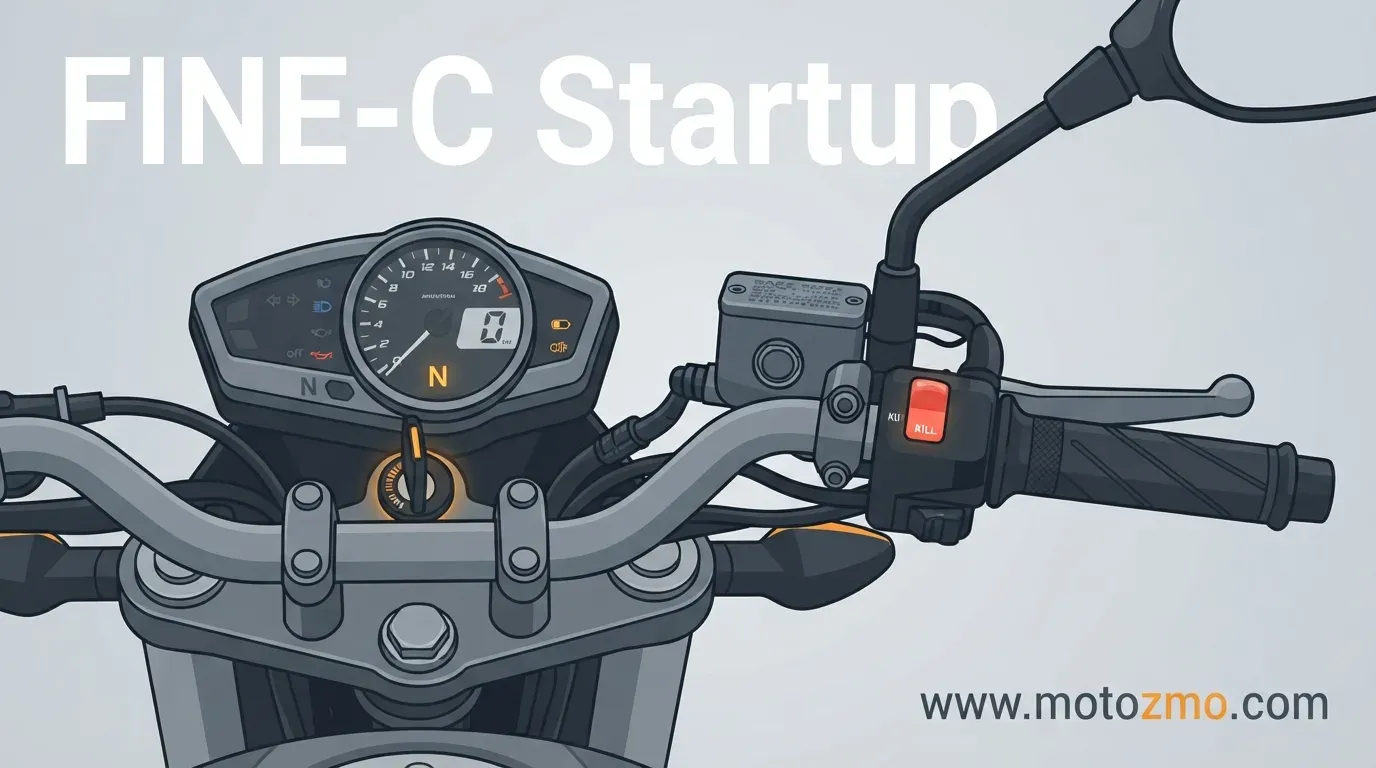
T-CLOCS is the walk-around. FINE-C is the startup sequence that finishes it:
- F — Fuel: enough for the trip, petcock on, no smell of leaks
- I — Ignition: key on, kill switch set to run
- N — Neutral: green light showing, or clutch pulled in
- E — Engine: start it and listen for anything new: rattles, uneven idle, warning lights
- C — Choke and clutch: choke as needed on a cold carbureted bike; clutch in before clicking into first
What T-CLOCS Won’t Catch
Honesty matters here: this is a screen, not a service. A walk-around will not find internal engine wear, a dying ECU, wheel bearings going rough, or brake pads worn thin behind the caliper where you cannot see them.
It also will not tell you a tire is too old. Rubber ages out at six years even with full tread, and that takes a date-code check, not a glance.
I cover that separately in when to replace motorcycle tires. T-CLOCS catches what changed since yesterday. Scheduled maintenance catches the slow stuff.
Bottom Line
Walk the bike once, clockwise, six stops, two minutes. Fix what affects stopping, steering, or staying upright before you roll; note the rest for later. Do the 30-second version daily and the full version weekly, and the check stops being a chore and starts being the reason small problems stay small.
FAQs about the Pre-Ride Inspection
Should I do the full check if someone else rode my bike last?
Yes. Do the full two-minute walk-around. You don’t know what they hit, what they noticed, or what they chose to ignore. Trust your own eyes, not their report.
Does my passenger need to do anything during the check?
Your passenger mounts only after you’ve started the engine and you’re ready. With the extra weight, recheck tire pressure and suspension sag against the owner’s manual two-up numbers, and confirm the load is balanced. Safety courses teach the same passenger rules: mount after the engine starts, feet on the pegs at all times, minimal movement.