Affiliate disclosure: This post may contain affiliate links. If you buy through a link on this page, MOTOZMO may earn a small commission at no extra cost to you. It helps keep our guides free. How we test and choose products.
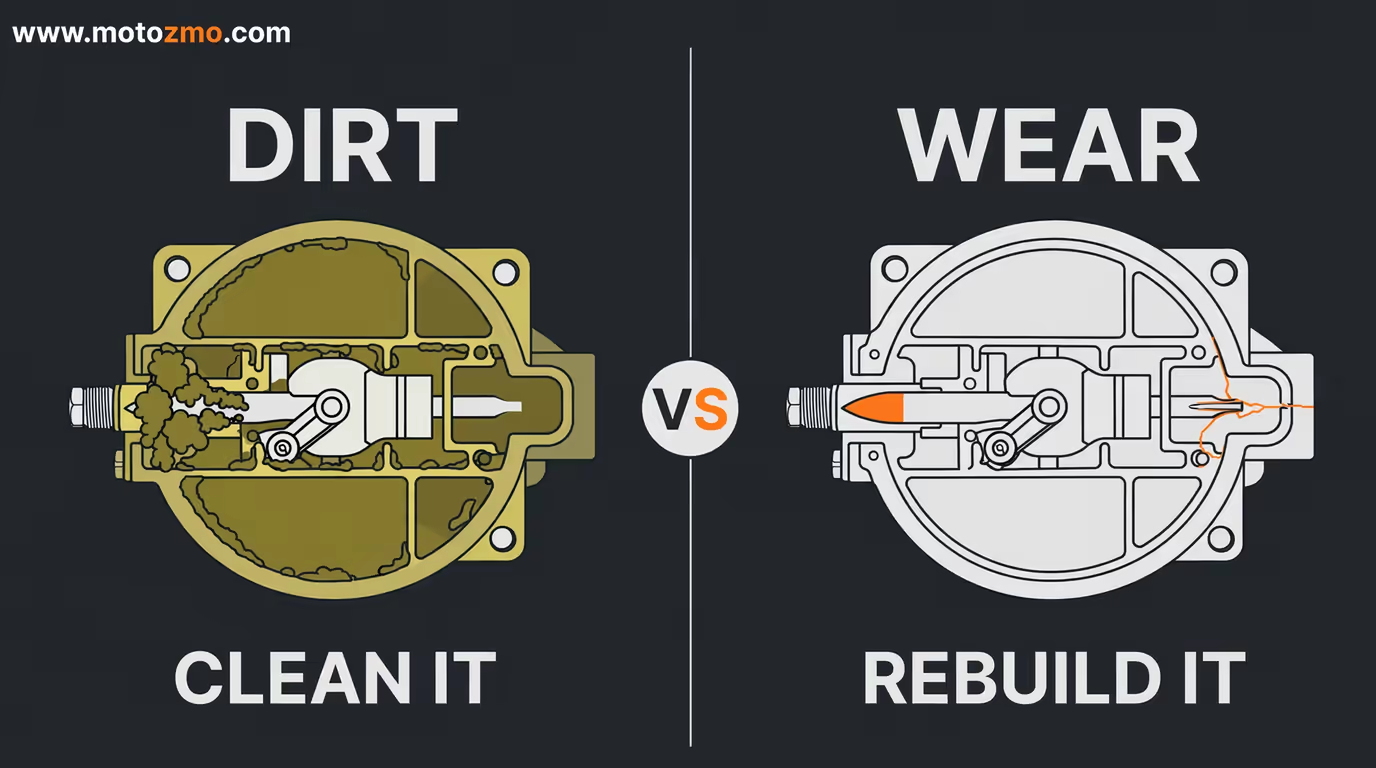
A rebuild kit fixes wear and old rubber. It does not fix dirt, and most carburetor trouble is dirt.
I learned that the expensive way, by ordering a kit for a bike that only had a varnished pilot jet. If your bike sat with fuel in it, cleaning may be the whole cure. It helps to first understand how a motorcycle carburetor works, and if the bike still runs at all, try cleaning the carburetor without removing it before you spend anything.
When the problem is age instead, hardened gaskets, a grooved float needle, a torn diaphragm, a kit is the right money. This guide shows you how to tell the two apart, how to pick a kit that fits your exact carburetor, and where a kit stops helping.
Does Your Carburetor Actually Need a Rebuild?
A clog is blockage. A rebuild cures wear. Match the symptom to the cause before you open your wallet, because the two problems feel similar from the seat and cost very different money.
| Symptom | What It Points To | Clean or Rebuild? |
|---|---|---|
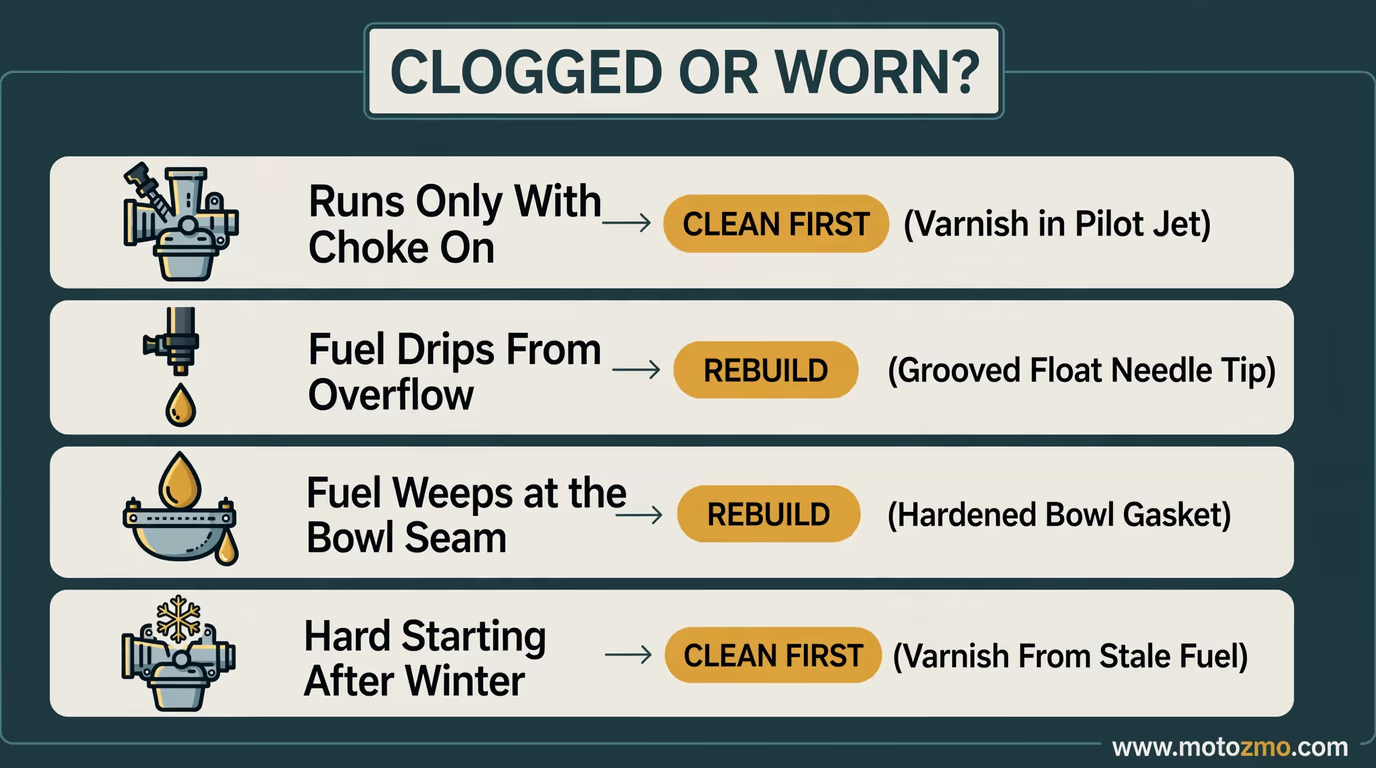
| Runs only with the choke on, dies when you close it | Varnish in the pilot jet and pilot passages | Clean first; rebuild only if it clogs again fast |
| Fuel drips from the overflow or bowl after parking | Float needle tip is grooved, or the float has sunk | Rebuild; cleaning cannot restore a worn needle tip |
| Fuel weeps at the float bowl seam | Bowl gasket has hardened and shrunk | Rebuild; the gasket is a wear part |
| Flat, bogging midrange and the slide feels lazy | CV diaphragm has a tear or pinhole | Replace the diaphragm; check whether the kit includes one |
| Green or white crust inside the bowl, jelly in the fuel | Water and ethanol damage, corrosion starting | Rebuild, and check the tank for rust and water too |
| Hard starting after the bike sat all winter | Varnish from stale fuel | Clean first, with a proper soak |
For the clean-first cases, the cleaning has to be a real one: bowls off, jets out, passages soaked and blown clear. Pick a cleaner that can sit in the carb without eating rubber, which is the whole point of our best motorcycle carburetor cleaner roundup.
If the bike runs well after a careful clean, stop there. If a symptom in the right-hand column of that table matches your bike, order the kit.
What Wears Out Inside a Carburetor?
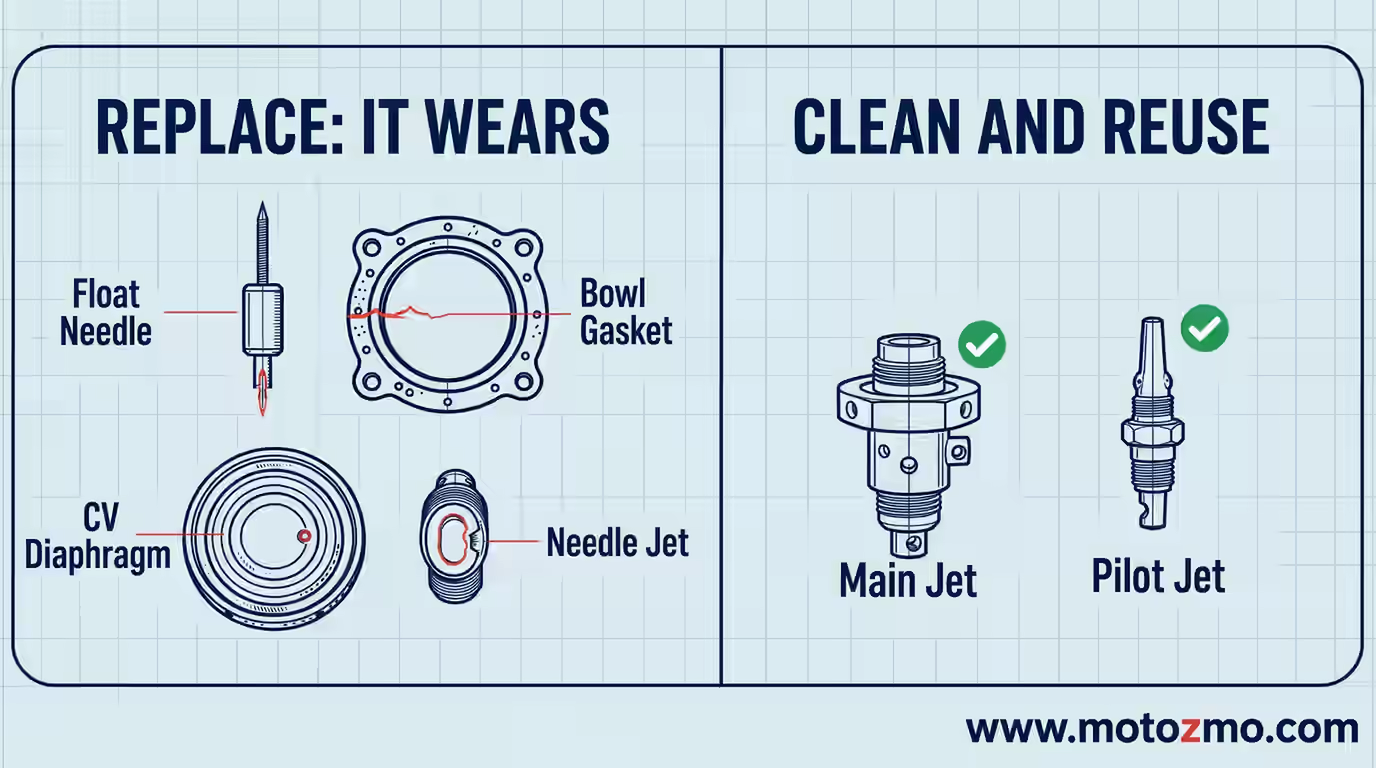
Rubber dies first. Bowl gaskets, O-rings, the tiny O-ring and washer under the mixture screw, and intake O-rings all harden with heat and time. A gasket that was soft five years ago turns into a hard ring that no longer seals, and it leaks air or fuel or both.
Ethanol speeds this up on older rubber. Ethanol also pulls water out of the air, and a Manitoba government guide on ethanol in small engines explains what happens next: once the blend takes in too much water, the ethanol and water separate and sink to the bottom of the tank, where that mix corrodes the bowl and attacks the parts sitting in it.
The float needle is the second wear item, and the one that floods garages. Its tip is rubber or a soft compound, and it presses into the seat thousands of times.
A groove wears into the tip, the needle stops sealing, and fuel keeps flowing after the bowl is full. Floats fail too. A brass float can spring a pinhole leak and fill with fuel. A plastic float can absorb fuel and ride low. Either way the fuel level in the bowl climbs and the bike runs rich or overflows.
The wear part most riders miss is the jet needle and the needle jet it rides in. On a CV carb, that needle moves in and out of the needle jet with every throttle change, for tens of thousands of miles.
The hole in the needle jet slowly wears oval. The midrange goes rich, fuel mileage drops, and no mixture screw setting fixes it, because the worn part is brass, not an adjustment.
Just as useful is what does not wear out. Main jets and pilot jets are solid brass with a drilled hole. They clog, but they do not shrink or grow in normal use.
If a jet is clean, undamaged, and the right size, it can go back in. That one fact drives most of the kit advice in this article: replace the parts that wear, clean the parts that clog.
What Comes in a Rebuild Kit, and What Does Not?
There is no standard kit. Two boxes with the same words on the label can hold very different parts, so read the contents list, not the title.
| Part | In Most Kits? | Notes |
|---|---|---|
| Float bowl gasket and O-rings | Yes | The core of every kit |
| Float needle | Yes | The seat is included in some kits, not all |
| Mixture screw spring, washer, and O-ring | Often | Easy to lose at teardown; check the list |
| Main and pilot jets | Sometimes | Quality varies a lot; see the next section |
| CV diaphragm | Sometimes | Often sold on its own; confirm before ordering |
| Float | Rarely | Order separately if yours has sunk or cracked |
| Jet needle and needle jet | Rarely | The worn pair is often a separate purchase |
| Throttle shaft seals | Rarely | Some carbs use felt seals, some use none you can change |
Fitment matters more than contents. Kits are cut for one carburetor model and often one range of years.
The same motorcycle could leave the factory with a Mikuni one year and a Keihin the next. Find the carb maker’s name and the model stamped on the carb body, and buy against that, not against the bike’s name alone.
OEM or Aftermarket: Where Kit Quality Shows
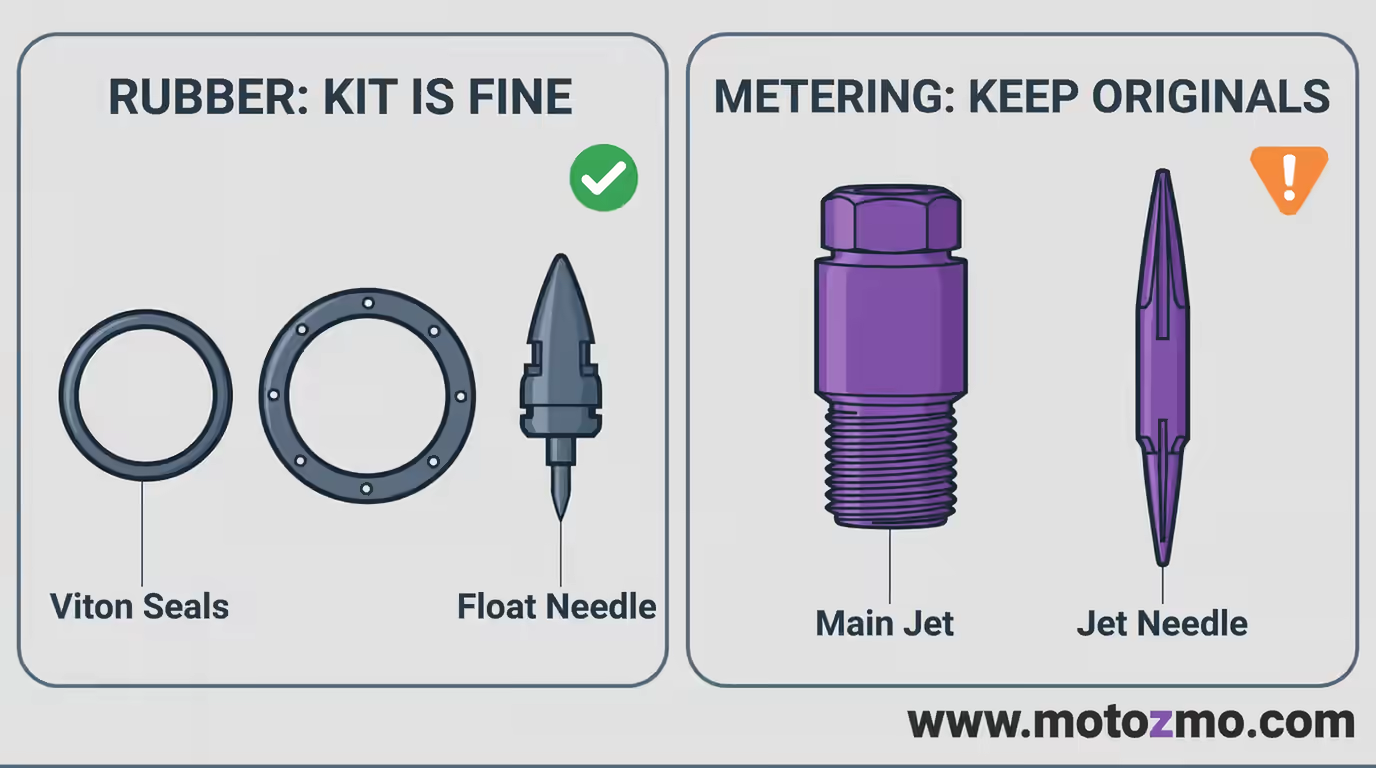
For gaskets and O-rings, a good aftermarket kit is fine, as long as the rubber is the right stuff. Look for Viton (also sold as FKM) for any part that sits in fuel.
Cheap nitrile seals can swell or crack in ethanol-blend fuel within a season, and then you do the whole job again. If a listing will not say what the seals are made of, that silence is your answer.
Jets and needles are where cheap kits earn their bad name. A jet is a precision part: the number stamped on it is a flow rating, and the hole has to be drilled straight and to size.
A jet stamped 120 in a bargain kit does not always flow like the original 120, and a jet needle with a slightly wrong taper will richen or lean the midrange in a way you cannot tune out. One off part can eat a weekend of test rides.
So my rule is simple. If the original jets and needles are clean and undamaged, clean them and put them back, whatever kit you bought.
Replace a jet only if it is damaged, corroded, or the wrong size, and then buy that jet from the carb maker (genuine Mikuni or Keihin) or a carb-parts brand with a long track record. Use the aftermarket kit for what it is good at: fresh rubber and a new float needle.
When a Rebuild Kit Will Not Save the Carburetor
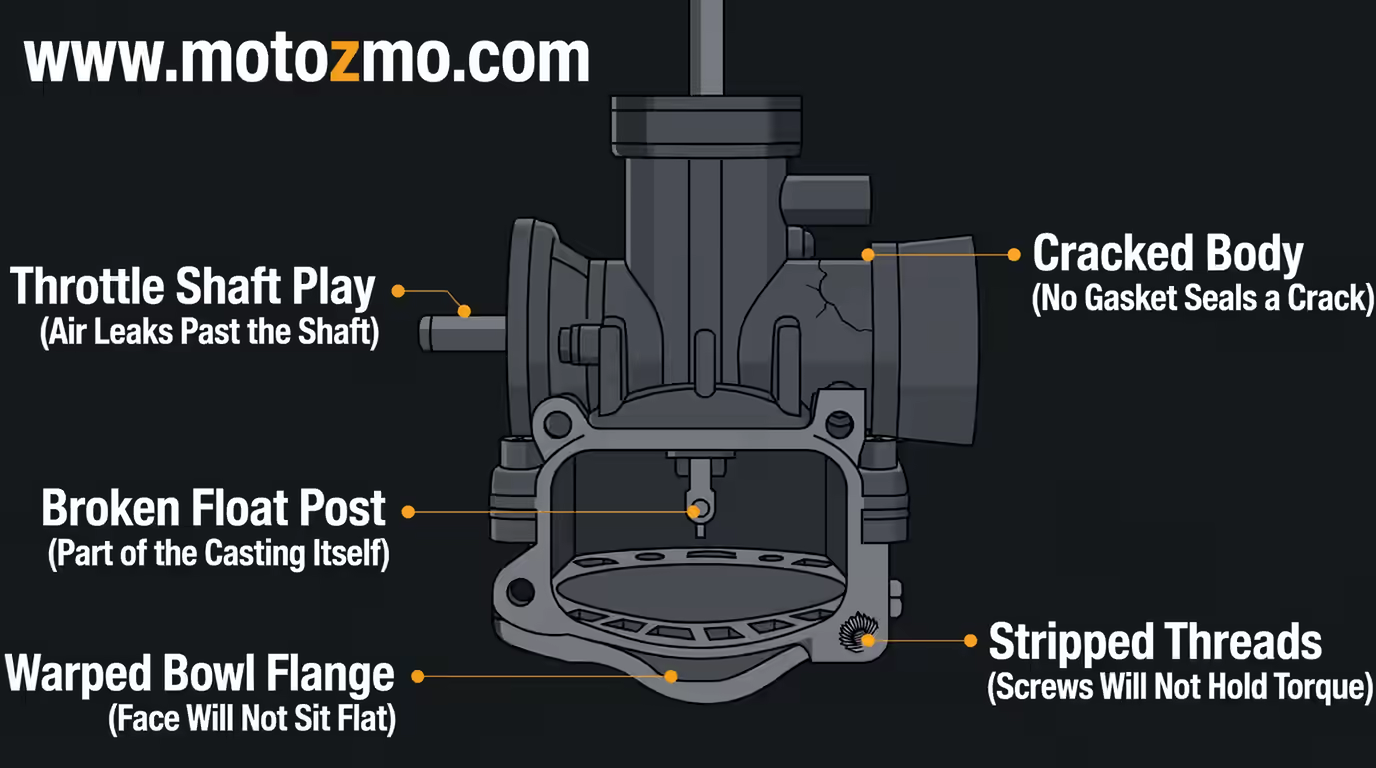
A kit renews the parts that unbolt. It cannot restore the casting they bolt into. Stop and rethink if you find any of these:
- Throttle shaft play. Wiggle the throttle shaft where it enters the body. If it moves and the idle hunts, air is leaking past the shaft. New seals cure it on some carbs. A worn bore needs machine work or a different carb.
- Cracked or rotted body. A cracked casting, or white corrosion eating through a passage wall, ends the rebuild. No gasket seals that.
- Stripped threads in the body. Bowl screw holes and jet threads that no longer hold torque mean the carb is done, or headed to a specialist.
- Broken float posts. The posts that hold the float pin are part of the body. Snap one while prying out a stuck pin and the carb is scrap.
- Warped sealing faces. A bowl flange that will not sit flat leaks with any gasket you fit.
None of this is rare on bikes that sat outside with fuel in them for years. Inspect before you order, not after the kit lands.
One Carb or Four: Per-Carb Kits and Full-Bank Kits
Read the listing twice if your bike has more than one carburetor. Many kits cover a single carb, so an inline-four needs four kits, or one bank kit that says it covers all four.
Prices run roughly $20 to $100 per carb for the kit itself, which is why the per-carb detail matters: a cheap-looking listing can be a quarter of the real cost.
Do all the carbs in the bank while they are off. Matching wear parts across the bank makes the final setup far easier, and you only want to pull a carb rack once. Work on one carb at a time on the bench, though, and keep each carb’s parts with that carb.
On some engines the factory jets differ from one cylinder to the next, and swapping parts between carbs builds in a tuning fault. When the bank goes back on, the last step is syncing the carburetors so each cylinder pulls its share.
What Does the Rebuild Itself Involve?
Budget an afternoon for a single carb and a long day for your first bank of four. You need the service manual specs for your carb: float height, mixture screw turns, and torque values. Beyond that, the job is patience and order.
- Take photos before and during teardown. Every hose, spring, and linkage position gets a picture.
- Pull the carbs and keep the bank together. Most racks come apart only if you enjoy pain.
- Strip one carb at a time on a clean bench. Count the mixture screw turns as you seat it lightly, and write the number down. That is your baseline for reassembly.
- Clean the body, jets, and passages with carb cleaner and compressed air. Never ream a jet with a drill bit or steel wire; brass is soft and the hole is the calibration.
- Lay the old parts out and compare them with the kit parts before anything goes in. Wrong O-ring sizes show up here, on the bench, not inside the carb.
- Fit the new soft parts and float needle. Set the float height to the manual spec with the carb held at the angle the manual shows.
- Reassemble, then feed the carbs fuel from a small auxiliary tank on the bench and watch for leaks and overflow before they go back on the bike.
- Refit, set idle speed and mixture to your recorded baseline, warm the bike up, and fine-tune from there.
Those baseline settings matter because each circuit owns a slice of the throttle. Mikuni’s tuning manual splits control by throttle opening: the pilot circuit handles idle and small openings, the jet needle handles the midrange, and the main jet takes over near full throttle.
If the bike misbehaves in one slice after the rebuild, that split tells you which part to look at first, instead of tearing the bank down.
How Do You Keep It From Needing Another Rebuild?
Most rebuilds trace back to storage, not miles. Ride the bike often enough to keep fresh fuel moving, drain the bowls before long storage, and follow a simple routine for maintaining your motorcycle carburetor the rest of the year. Fresh seals in a carb that sits in stale fuel every winter are a subscription, not a repair.
One last boundary. A rebuild restores stock settings with stock parts. If you have changed the exhaust or the intake, stock jetting may be the wrong target no matter how clean the carb is, and that is a different job: rejetting the carburetor for the new setup.
Clean for dirt, rebuild for wear, rejet for changes. Pick the right one and the bike will tell you that you did.