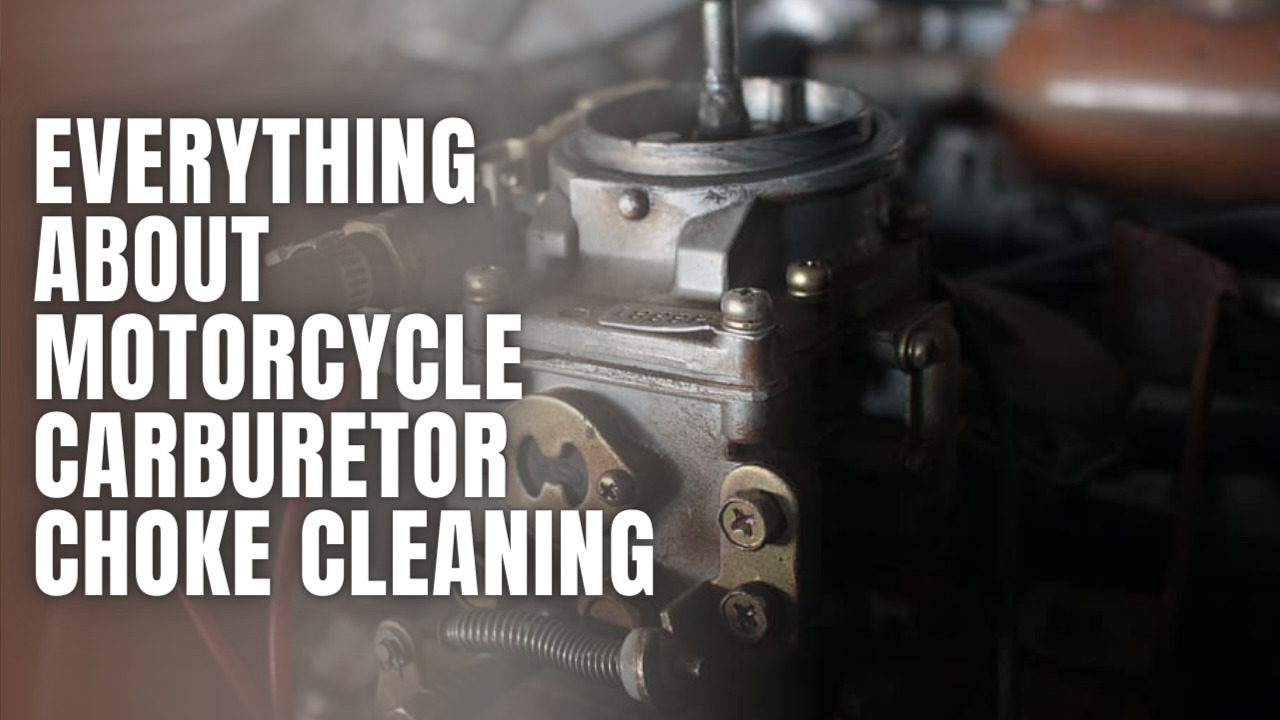
Is your motorcycle choking on a choked-up choke? If starting your bike is like pulling teeth and the idle is as erratic as a toddler after a sugar rush, it might be time for a motorcycle carburetor choke cleaning.
The choke’s job is to enrich that perfect air-fuel mixture, delivering a dose of gasoline-y goodness for a cold engine start. But the packaging for all that premiumness is susceptible to buildup and blockage. Before you know it, your engine’s refusing desert until vegetables are served—and that’s no way to treat a vehicle you love.
It’s DIY cleaning time. Grab a can of the good carb cleaner, put on your mechanic thinking cap, and get ready to dismantle. That stuck choke thought it could get away with its slacking, but you’ll have the last laugh after a thorough unsticking and de-gunking. Let the tune-up begin!”
Common Causes of a Stuck Motorcycle Choke
A motorcycle choke system can get stuck for various reasons. Be aware of these issues:
Built-up dirt and debris. Gunk and dirt can accumulate on the choke plate and mechanism and prevent it from closing or opening properly. This is a common issue if the air filter is clogged or damaged, allowing unfiltered air into the carburetor.
Corrosion. It can seize the choke plate or mechanism, causing it to stick. This is more likely in areas with high humidity or salt/chemicals on the roads.
Wear or damage. The choke mechanism can become worn out or damaged over time and high mileage. Parts may need replacement if the choke is sticking or not operating normally due to significant wear.
Incorrect adjustment. If the automatic choke is vacuum-operated, it may be out of adjustment. The choke vacuum diaphragm or other parts may need adjustment to the proper settings using a manual.
The solution will depend on the cause of the stuck choke. Cleaning, lubricating, or replacement of parts may be needed to get the choke functioning properly again. It’s best to troubleshoot choke issues with the help of a repair manual for your specific motorcycle make and model.
SEE MORE: How to Adjust Motorcycle Carburetor Air Fuel Mixture
Troubleshooting a Stuck Motorcycle Choke
Check the choke lever or knob operation. If the choke is manually operated, ensure the lever or knob is moving freely and not sticking. Lubricate if needed.
Inspect the choke plate. Remove the air horn or cover on the carburetor and check that the choke plate can move freely. Clean or replace the plate if stuck.
Check for vacuum leaks. If the choke is vacuum-operated, ensure there are no leaks in the vacuum hose or diaphragm. Replace damaged parts and verify there is vacuum at the diaphragm with the engine running.
Disassemble and clean the carburetor. As a last resort, you may need to fully disassemble the carburetor to access and clean the choke mechanism. Use carb cleaner and compressed air to remove buildup. Reassemble carefully and test.
Consult a repair manual. For specific guidance on your motorcycle model, refer to the service manual. It will have detailed steps and specifications for troubleshooting and repairing choke issues.
If choke problems persist after trying to clean and troubleshoot the components, it may be best to have the carburetor serviced by a mechanic. They can inspect the choke system in full and perform repairs or replacements to get it functioning properly again.
SEE MORE: Say Goodbye to Carburetor Gunk with Carb Cleaners for Motorcycles
Motorcycle Carburetor Choke Cleaning in Easy Steps
The basic supplies you’ll need to clean a motorcycle choke include:
- Carburetor cleaner spray
- Wire brush
- Compressed air
- Clean rags
- Lubricating oil (for the choke mechanism)
Here are the basic steps to clean a motorcycle carburetor choke:
1. Remove the carburetor. Disconnect the fuel line, choke cable/linkage, and any vacuum hoses from the carburetor. Unbolt and remove the carburetor from the engine.
2. Disassemble the carburetor. Remove the float bowl and air horn (choke cover) from the carburetor body. This will expose the choke plate.
3. Remove and clean the choke plate. The choke plate should lift out or may be held in place by a retaining screw or screw. Remove the choke plate and use carburetor cleaner and a brush to remove any buildup or debris. Dry the plate and choke bore thoroughly.
4. Clean the choke mechanism. Spray carb cleaner into the choke mechanism to dissolve any gummed-up fuel residue. Use a brush to loosen stubborn buildup. Lube the choke mechanism with carburetor cleaner or lightweight oil and operate the choke to verify it’s moving freely.
5. Reassemble the carburetor. Put the choke plate and air horn back on, followed by the float bowl. Reattach the carburetor to the engine and double-check for any air or fuel leaks.
6. Start and test the engine. Start the engine to verify the choke is functioning properly. Check for smooth idling and throttle response. Readjust the choke if needed.
Following the proper steps and using care when disassembling/reassembling the carburetor will help get your bike’s choke cleaned and working well again. If you have trouble or don’t feel comfortable doing it yourself, have a mechanic clean and inspect the carburetor.
SEE MORE: How to Clean a Motorcycle Carburetor Without Removing
Basic Steps to Disassemble a Motorcycle Carburetor
Here’s how to access the choke plate by disassembling the carburetor:
1. Remove the carburetor from the engine. Disconnect the fuel line, choke cable/linkage, and any vacuum hoses attached to the carburetor. Then unbolt the carburetor from the engine and remove it.
2. Remove the float bowl. The float bowl attaches to the bottom of the carburetor. Unscrew the bolts holding the float bowl in place and remove the bowl. This will expose the main jet and needle jet underneath.
3. Remove the air horn. The air horn is the part of the carburetor body where the choke plate is located. Unscrew the mounting screws around the perimeter of the air horn and lift off the air horn. This will expose the choke plate.
4. Remove the choke plate. The choke plate may lift out, or you may need to unscrew the choke plate spindle to remove the plate. Remove the plate to access and clean the choke bore.
5. Clean the choke bore and plate. Use carburetor cleaner and a wire brush or compressed air to remove any buildup from the choke bore and choke plate.
6. Reassemble the carburetor. Put the choke plate and air horn back on, then the float bowl, and reattach the carburetor to the engine. Double check for any vacuum or fuel line leaks before starting the engine.
Be very careful when disassembling the carburetor, as there are small parts that can be easily lost or damaged. Follow your motorcycle service manual for specific directions and precautions. It’s best to have a clean work area, parts trays, and proper tools to keep everything organized.
Precautions for Motorcycle Carburetor Disassembly
Work in a clean area with good lighting. Lay out parts trays or boxes to keep small components organized.
Refer to a service manual for your specific motorcycle model. The manual will have detailed steps and warnings for disassembly. Follow the manual closely.
Go slowly and keep track of all parts. There are many small pieces in a carburetor, so keep everything organized and lay out parts in order as you remove them.
Be very careful with the diaphragms and gaskets. The diaphragms and gaskets can tear easily, so handle them carefully during disassembly and cleaning. Inspect them for damage and replace if needed.
Clean components thoroughly. Use carburetor cleaner and compressed air to remove all dirt and debris. Dry all parts completely before reassembly.
Reassemble carefully. Take your time putting the carburetor back together. Double check that all parts are in the proper order and position, and that there are no remaining dirt or debris inside the carburetor.
Test the carburetor and check for leaks. Once reinstalled, start the engine and check for proper throttle response and no fuel or vacuum leaks. Re-adjust or replace parts if needed.
Following the proper precautions will help ensure you disassemble, clean, and reassemble the carburetor correctly. If you run into issues or don’t feel comfortable doing it yourself, have a mechanic service the carburetor. They have the experience and tools to properly troubleshoot and repair the carburetor.
SEE MORE: Motorcycle Carburetor vs Fuel Injection: Which One Reigns Supreme?
Is It Safe to Clean the Choke Myself or Should I Take It to a Mechanic?
Cleaning a motorcycle choke yourself can be safe if you follow proper precautions and are comfortable working on engines.
However, it does require disassembling the carburetor and handling small, sensitive parts. If you’re not experienced with carburetor work or don’t have the service manual for your bike, it’s a good idea to have a mechanic clean the choke.
A mechanic will have the proper tools and experience to safely disassemble, clean, and reassemble the carburetor and choke. They can also inspect for any other issues and make sure there are no air or fuel leaks after reassembly.
So unless you’re confident working on carburetors, it’s best to have a professional handle cleaning the choke.
How Can I Find a Reliable Mechanic to Clean the Choke for Me?
Here are some tips for finding a reliable mechanic to clean your motorcycle’s choke:
Ask for recommendations from other motorcycle riders. Word of mouth is a good way to find a reputable mechanic. Check with riding clubs or groups in your area and ask for suggestions of mechanics who work on motorcycles.
Check review sites like Yelp or Google Reviews. See what other customers say about local motorcycle mechanics and look for consistently positive reviews that mention fair pricing, quality work, and good communication.
Inquire about certification and experience. Find out if the mechanic or shop has specific training or certification in motorcycle repair. And ask them about their experience working on your particular motorcycle make and model. More experience is better when dealing with potential choke or carburetor issues.
Get estimates from a few places. Once you have some options, get estimates for choke cleaning and carburetor service. Estimates can vary in price, but can give you an idea of the costs as well as how communicative and thorough the mechanic is in assessing the work needed.
Trust your gut. Even with recommendations and estimates, go with a mechanic you feel comfortable with and confident in their skills. If something feels off, keep looking until you find a shop and mechanic you trust.
Following these tips can help you find a reliable mechanic to properly service your motorcycle’s choke and carburetor. Taking the time to find a competent mechanic is worth it to get the job done right the first time.
What is the Average Cost of Having a Mechanic Clean the Choke?
The average cost to have a motorcycle mechanic clean a choke can range from $100 to $300. The exact cost will depend on:
- The mechanic’s labor rates. Labor rates can vary in different areas and shops. Expect to pay between $50 to $150 per hour of labor to have the choke cleaned.
- The complexity of the choke cleaning. If the choke is very dirty or stuck, it may take more time to disassemble, clean, and reassemble the carburetor. Simple cleaning may take 1-2 hours, while a more in-depth cleaning could take 3-4 hours or more of labor.
- The cost of any parts needed. If the choke plate or other parts need to be replaced in addition to cleaning, this will add to the total cost. Replacing choke parts may add $50-$200 or more to the price.
- Additional services. If you have the mechanic do other work at the same time like cleaning the carburetor or diagnosing other issues, this may save some labor cost but will increase the overall price.
So you can expect to pay between $100 to $300 to have a mechanic professionally clean a motorcycle choke, depending on the particular job and mechanic rates in your area. It’s best to get estimates from local shops to get a price range for your specific motorcycle.
FAQs about Motorcycle Carburetor Choke Cleaning
Why is it important to clean a motorcycle choke?
A dirty choke can cause hard starting, rough idling, stalling, and poor acceleration. Cleaning the choke removes buildup and ensures it can open and close properly, allowing for the right amount of fuel enrichment during startup. This helps the engine start and run smoothly.
How often should I clean my motorcycle’s choke?
It’s a good idea to inspect and clean your motorcycle’s choke once a season or every 6,000 to 8,000 miles. If you notice symptoms of a dirty choke like hard starting or rough idling, clean the choke sooner. For heavier buildup, it may need cleaning more frequently.
How do I know if my motorcycle’s choke needs cleaning?
Signs it’s time to clean your motorcycle’s choke include: difficulty starting the engine when cold, rough or erratic idling or stalling, slow acceleration or lack of power until the engine warms up, and higher fuel consumption.
Do I need to remove the carburetor to clean the choke?
In most cases, you will need to remove the carburetor from the engine to properly access and clean the choke. The choke mechanism is located inside the carburetor, so it must be disassembled to clean the choke plate and mechanism.


