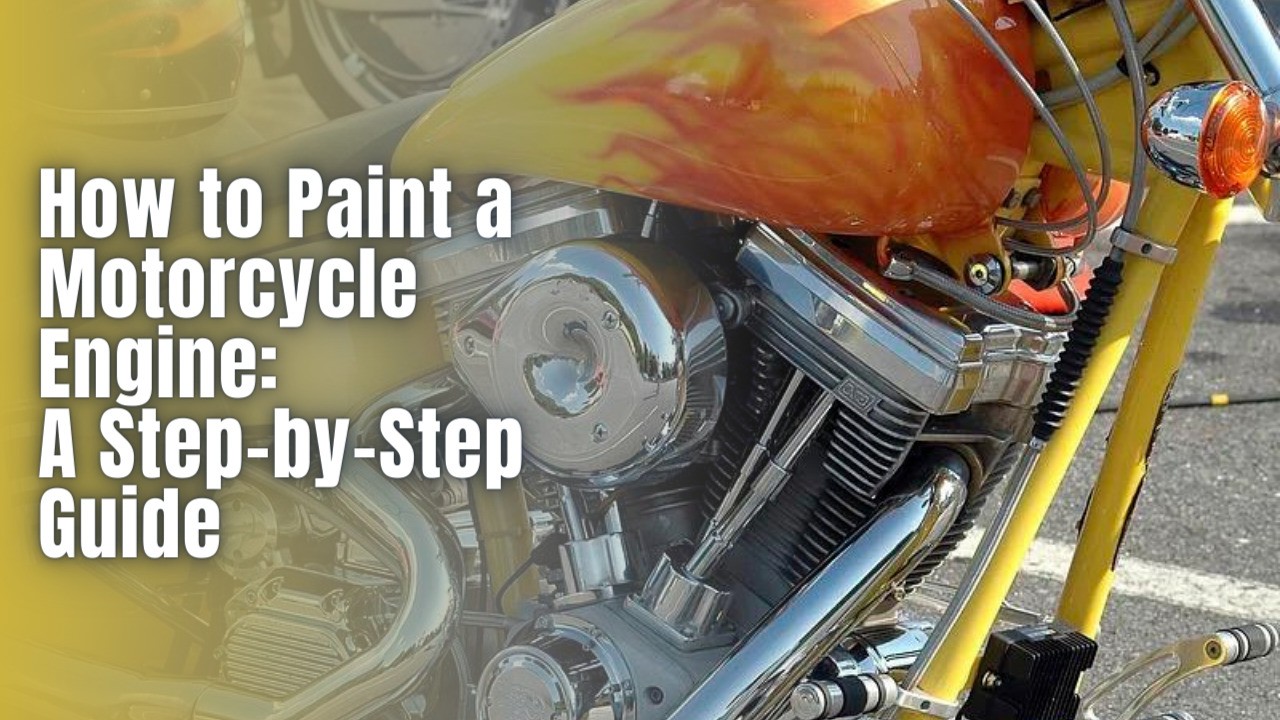
Customizing your motorcycle with a freshly painted engine is a great way to put your own creative stamp on your bike. Whether you go for an eye-catching color or want to black out parts for a stealthier look, a new paint job can really make your engine pop.
We’ll break down the entire process of how to paint a motorcycle engine step-by-step so you can transform your motorcycle’s engine from dull and dirty to stunning. I’ll share expert tips I’ve picked up to help ensure your paint job comes out looking super clean.
By the time you finish, your friends won’t believe you did it yourself – but you’ll have the satisfaction of knowing your engine looks totally unique thanks to your own hard work.
Preparation for Painting the Engine
A. Gathering supplies
- Cleaning supplies (grease remover, carburetor cleaner, etc.)
- Sanding supplies (sandpaper, wire wheel, etc.)
- Painting supplies (paint, primer, clear coat, thinner, respirator)
- Protective supplies (goggles, gloves, masks)
Having the right cleaning, sanding, painting, and safety gear will make the job go a lot smoother.
For cleaning, you’ll need degreasers like carburetor cleaner or industrial strength grease remover. These will cut through any old grease or dirt like butter. Make sure to get plenty – you don’t want to run out halfway through! Scrapping tools like scouring pads are also handy for scrubbing stubborn spots.
When it comes to sanding, you’ll need different grits of sandpaper – start with lower grits around 120-180 for heavy duty work, then step up to 320 or 400 for smoothing. A wire brush is perfect for nooks and crannies. Be sure to have tarps on hand to catch dust as you work.
For painting supplies, you’ll need the main paint, primer if needed, and a clear top coat. Don’t forget paint thinner to thin things out if using a spray gun. Also get small brushes for detail work. An air respirator is an absolute must – you don’t want that paint in your lungs!
Last but not least, get safety gear like goggles, gloves, and a protective mask. Your eyes and lungs will thank you later for taking precautions.
SEE MORE: The Best Motorcycle Engine Paint of the Year for a Stunning Finish
B. Removing the engine
- Required tools
- Loosening bolts/fasteners
- Removing engine from frame
Before you can start cleaning and painting, the engine needs to come out. Learn the details on how to remove it safely and efficiently to get the job done right.
First, you’ll need some basic hand tools:
- Sockets and wrenches (to match your engine’s bolts and fasteners)
- Spanners and screwdrivers (for loosening odd ball spots)
Most engines are mounted with anywhere from 6-12 bolts, so start identifying and loosening them one by one. Go slowly and don’t remove any completely until they’re all loosened to avoid dropping parts. Consider snapping photos as you go if you’re forgetful like me!
With an extra set of hands, you can lift the engine straight up and backwards out of the frame opening. Engines can be surprisingly heavy, so be careful of your back. You can also use straps or an engine hoist for rigging if working solo.
Set the freed engine on a sturdy work stand or saw horses somewhere protected from dirt. Be sure to cover up any exposed openings to avoid losing parts or tools inside.
Taking your time with this initial removal step helps ensure everything goes smoothly for the rest of the job. Double check all mounts are clear before lifting to avoid snags or damaged parts.
C. Cleaning the engine
Now that the engine is out of the motorcycle, it’s time to get that grime off! Proper cleaning before sanding and painting is crucial to produce a long-lasting finish.
Grease and dirt removal
- Using grease remover
- Scouring pad
- Carburetor cleaner
Getting the grease off is the first step. Spray degreaser all over the engine and let it soak to cut through built up muck. Give stubborn spots a scrub with a scouring pad too. This loosens the worst of it.
Once you’ve let the degreaser work its magic, take a carburetor cleaner to the engine. Spray it on a rag and wipe individual parts to dissolve any remaining oily residue.
Rust removal
- Applying rust remover
- Letting it soak
- Rinsing
If rust spots are present, start by misting on a safe rust remover specifically made for engine applications. Let it sit to dissolve rust crystals.
After a while, scrub away rust remover/loosened rust with a brush or pad. Rinse the parts with water and inspect to ensure all rust is gone. Repeat treating and scrubbing if needed.
Thorough cleaning of each nook and cranny is key before sanding. Don’t be afraid to break out a toothbrush for tight crevices! Once the engine is free of dirt and rust, let it dry completely before moving to the next step.
SEE MORE: Best Anti Corrosion Spray for Motorcycle
Degreasing the engine
- Spraying degreaser
- Wiping down with rags
Spray degreaser all over the engine, focus it on greasy areas. Let it soak and cut through any remaining grime. Take old rags and wipe individual parts, folding the rag as you go to fresh material. This will dissolve more yuck.
Sanding
- Types of sandpaper to use
- Areas to sand
When fully dried, it’s time to scuff things up with sandpaper so the paint will adhere properly. Use lower grits around 120-180 for heavily soiled spots. Smooth it out with 220-320.
For flat, open areas work the sandpaper by hand in multiple directions. On curved parts wrap some around a block of wood. Small detail areas call for folding sandpaper to fit.
Don’t forget ever inch – look in crevices with a light. The rough texture means paint will bond 10 times better. Blow or wipe off dust when done.
With a wire wheel on a cordless drill, you can sand hard to reach nooks and crannies. Go slowly and carefully around edges.
Your engine is now perfectly prepped for paint! Take your time here, it makes the final result exponentially better.
D. Drying and inspecting the cleaned engine
- Directions for thorough drying
- Inspecting for remaining grease/dirt
- Covering areas not to be painted
Alright, now that the grime is gone and surfaces scuffed, it’s time for a final inspection before masking and painting.
Drying: Set your freshly scrubbed engine in the sun to dry fully, or use compressed air to speed things up. Make sure to dry in tight nooks that may retain moisture.
Inspecting: Check every inch under bright light for remaining grease spots or dirt. Re-clean any problem areas before they cause issues under the new paint.
Masking: Once completely dry, cover areas you don’t want paint like the spark plug box, oil cap, and air intakes. Cut tapes shapes work well. Use plenty so no mistakes!
It’s also a good idea to loosely drape plastic or a tarp underneath in case of drips to protect other parts. Trust me, you don’t want paint somewhere it doesn’t belong!
With surfaces cleaned and protected, you’ll be all set to start laying down that sleek new paint!
II. How to Paint a Motorcycle Engine
A. Priming (if needed)
- Choosing a heat-resistant primer
- Application techniques
Before laying down the main paint colors, it may be necessary to first apply a coat of primer to help it bond better.
Choosing Primer: Look for a high heat primer rated for hoods and engines. Make sure the manufacturer says it’s suitable for your paint type.
Application: Lightly scuff the surface again before priming. For cans, shake well and spray in light, even coats about 6-8 inches from the surface.
Try working in small sections and avoid dripping by watching your trim. Overlap spray patterns 50% for full coverage.
Let primer dry according to can instructions before inspecting for missed spots. Re-apply as needed then scuff with fine sandpaper before continuing.
A quality high heat primer makes a huge difference in how long your paint job will last withstanding temperature extremes. The extra time spent priming is worth it for the final result.
With a smooth base established, your paint will bond like no tomorrow for years to come. On to color!
B. Applying the base coat
- Types of paint options
- Thinning paint (if needed)
- Application techniques
Time to add some personality with your choice of vivid base coat colors! Let’s cover options and proper application.
Paint Options: High-temp automotive enamel is best for durability. Consider your climate – glossy may show marks more. Rustoleum and VHT make great spray paint options.
Thinning (if needed): Add recommended paint thinner to spray cans for ease of coverage. Or thin brushed enamel to spreadable milkshake texture. Too thick and it’ll dry fast in gun.
Application: For cans, use light coats 15-20 seconds each from 8-10 inches. Overlap 50% each pass. Go with the grain on curves.
Brush wet-on-wet for smooth finish. Load brush not too full, keep an even pressure. Cut-in edges first before rolling surface.
Wear your respirator! Slow, patient coats will yield a showroom shine without drips. Clean gun between colors.
SEE MORE: How to Maintain a Motorcycle Carburetor to Unleash Its Full Power
C. Applying additional coats
- Number of coats needed
- Light sanding between coats
- Ensuring even coverage
To truly make your paint job pop, taking the time to add multiple thin coats is key.
Number of Coats: Most jobs need 3 light coats minimum to fill surfaces nicely. Don’t be shy – more coats make a substantial difference.
Light Sanding: Scuff lightly with 400-600 grit between coats to ensure adhesion. Wipe away dust before proceeding to seal layers together.
Even Coverage: Watch for thin spots and reapply as needed. Blend coats together by feathering paint out at the edges. Overlap spray patterns 50% for a seamless look.
It may seem like extra work now but those extra thin applications result in a smooth, long-lasting finish. Resist the urge to lay it on too thick in one shot.
D. Applying clear coat
- Purpose of clear coat
- Application techniques
To really make colors pop and protect your paint for years, no job is complete without a sleek clear coat sealing.
The clear forms a shield over your base layer from UV rays and the elements. It will keep that “just-painted” look ten times longer!
Application: Lightly scuff cured paint with 600+ grit paper beforehand. Wipe away residue well. For a spray can, hold 8-10 inches and layer in thin, even fans back and forth 50% overlap.
Take your time, control the thickness. Fewer thicker coats risk runs, while thinner options dry faster with less risk. Let each section flash off a few before advancing. Follow can directions for dry time before light use.
E. Drying time
- Minimum drying time between steps
- Ensuring paint is fully cured before reinstallation
The final and most crucial part of painting is allowing appropriate drying time before reinstalling and riding. You’ve come this far – don’t ruin it now!
Minimum Times: Always follow product dry times as temperature/humidity affects curing. As a ballpark: primer 8hrs, paint overnight, clear 24hrs.
Ensure Drying Between Steps: Scuffing and applying additional coats requires waiting at least the minimum dry time between. No shortcuts!
Curing Before Riding: Newly painted engines need 7 days to fully cure in ideal conditions. Don’t reinstall until completely off-gassed or it may peel. Test with fingernail for full hardness.
With thicker clear and hot weather, consider 2 weeks to cure fully. No idling hot runs until then either, give it a chance to bond.
III. Reassembly and Protection
With paint fully cured, it’s time to reassemble for a fresh new look. Let’s go through the process carefully.
Removing covers and taping: Start by pulling off all paint masking and covers gently so you don’t damage newly finished surfaces. Inspect for any trapped pieces.
Reinstalling cleaned engine: Take your time lowering engine back into frame. Have a buddy help if necessary to avoid scratches. Replace any fasteners by hand first before tightening fully to avoid cross-threading.
Reconnect Hoses, Wires and Cables: Triple check hoses, wires and brackets are properly reattached before firing it up. Confirm no rubbing points that could wear through over time.
Initial Start Up: Don’t rev it excessively yet. Give everything a chance to fully seal again before riding hard. Check for leaks and listen for anything amiss.
Maintaining the painted engine
- Regular cleaning
- Touch-ups for scratches
- Applying protective coating
- Using polish/wax
To really get the longest life from your freshly painted motorcycle engine, following some easy maintenance tips is key.
Regular Cleaning: Wipe down the engine after rides to prevent grime buildup. Diluted degreaser and an old toothbrush reaches into tight crevices.
Touch-Ups for Scratches: It happens – rocks clip the paint. No worries, just match your paint or clear coat to small nicks before they spread.
Applying Protective Coating: Spray on a water-based UV protectant every few washes/season to maintain that gloss and shield from fading rays.
Using Polish or Wax: Once or twice a year, polish scratches and swirls away for a showroom shine. Then wax to prevent grime sticking and add a slick layer.
SEE MORE: How Much Engine Oil Is Too Much for a Motorcycle
Tips for ensuring a professional results
With proper prep and care, your engine paint should last many seasons. But some extra guidance helps ensure truly long-term results.
A painted engine driven regularly can stay vibrant 5+ years with protection and washing. Garaged bikes in dry areas may go even longer before needing a refresh coat.
You can follow these tips:
- Take your time – rushing yields mistakes. Use quality paints suited for heat and weather conditions.
- Prep surfaces thoroughly without scrimping on cleaning time. Lay down multiple thin full coats rather than few thick ones.
- Cure it properly as directed before riding again. Apply protectants as maintenance to shield the clear coat.
- Admire your work but if caring for it seems overwhelming, consider a pro detailer’s tips to keeping it looking new.
Ultimately your engine is a rolling artwork, so protect your investment with regular washing, touch-ups of any chips, and applying wax or protectants 1-2 times annually as needed in your climate.
FAQs About Motorcycle Engine Painting
How long will a painted engine last?
With proper prep and maintenance, a painted engine can typically last 5+ years if riding regularly. Proper curing and using a clear coat can help it last even longer.
What’s the best paint to use?
High temperature automotive enamel specifically made for engines is ideal. VHT and Rustoleum make quality, durable options in a variety of colors.
Can I paint my engine if it’s really old/dirty?
Yes, but extra time and elbow grease will be needed for deep cleaning. Degreasers and rust remover are essential to prep the surfaces properly for the paint to adhere.
When can I ride after painting?
Always allow at least a full week of curing time under ideal conditions before riding. Two weeks is safer for thick clear coats or hot weather. Don’t start until fully hardened.
How do I touch up scratches in the paint?
Use a brush or tip to apply a small amount of matching paint or clear coat. Scuff lightly and allow to fully cure for a seamless repair.
Do I need to remove my engine to paint it?
It’s generally recommended to remove the engine from the frame to make it easier to fully clean, sand and paint all surfaces. However, some people paint with the engine still installed if they are very careful.
What type of primer should I use?
Look for a high heat primer designed for engines and exhaust systems. It needs to be able to withstand temperatures of at least 400°F. Single stage urethane or high-temperature BBQ grill paint works well too.
How many coats of paint do I need?
Most jobs require 3 lightweight coats of paint for full coverage, with sanding lightly between each coat. Don’t be afraid to add additional coats if needed to fill in surfaces. More thin coats are better than fewer thick ones.
Can I spray paint an engine with the bike assembled?
It’s possible but much more difficult due to limited access to all surfaces. Disassembly allows for the most thorough prep and paint application. Masking off other parts precisely would also be challenging fully assembled.